Display your Presentria Quiz inside a PowerPoint slide in 4 easy steps (PC/Windows users)
[Click here for Mac users]
 Download the Presentria.xml file and install it in PowerPoint:
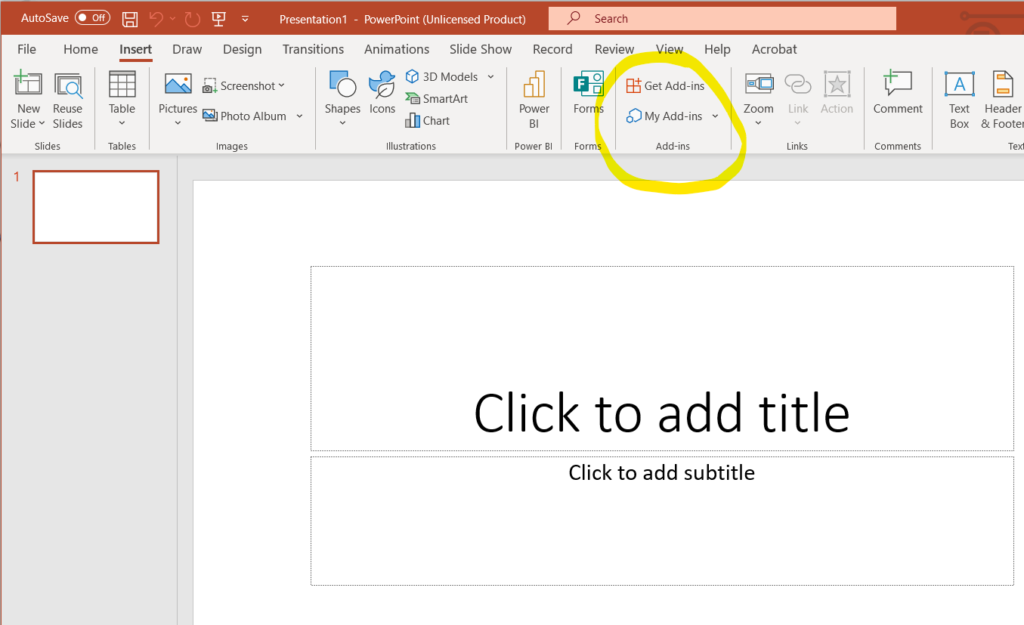
There are 2 ways to install the Presentria Add-in to your PowerPoint application, depending on your software configuration. If you can see the "Add-in" buttons on the "Insert" tab of the PowerPoint ribbon, please follow Option "A" for installation instructions.
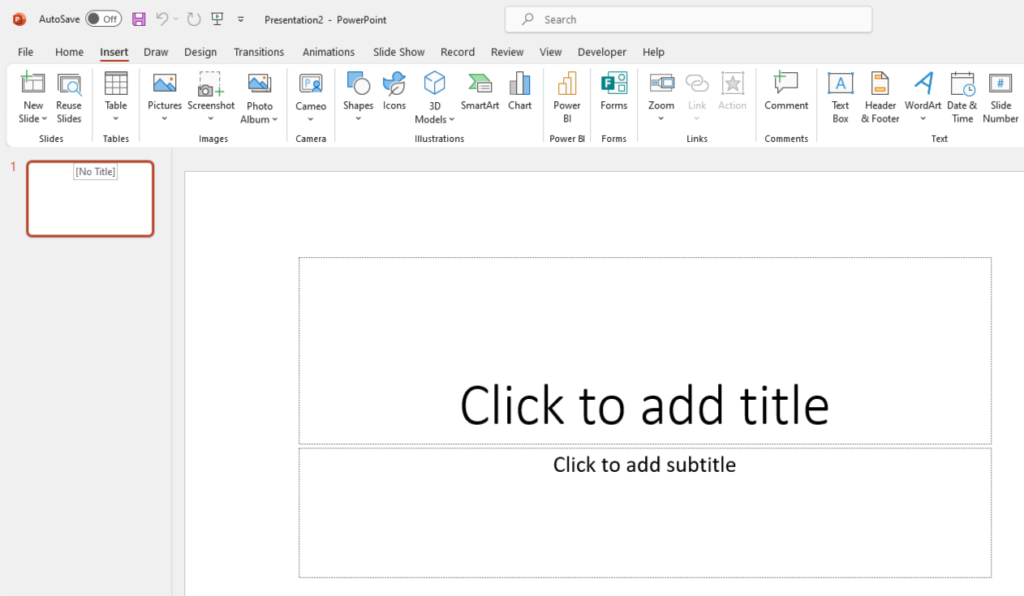
On the other hand, if you cannot find the "Add-in" buttons on the "Insert" tab, please follow Option "B" for installation instructions.
Instructions for Option "A":
a. Download the zipped add-in file called "presentria.xml" here.
b. Unzip this file. (i.e., right click on the file and select "Extract All...")
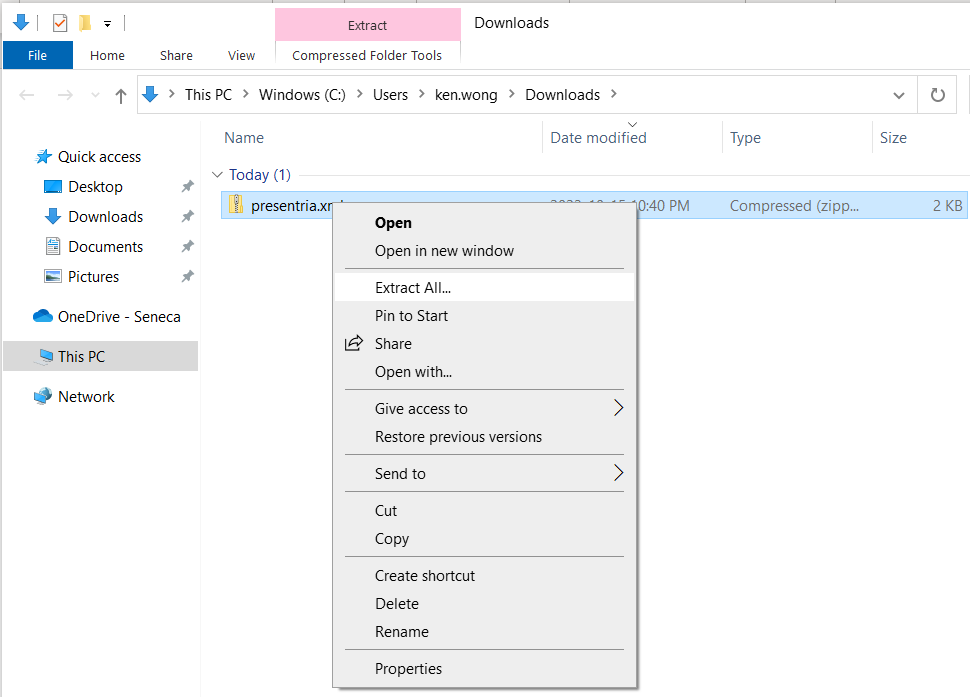
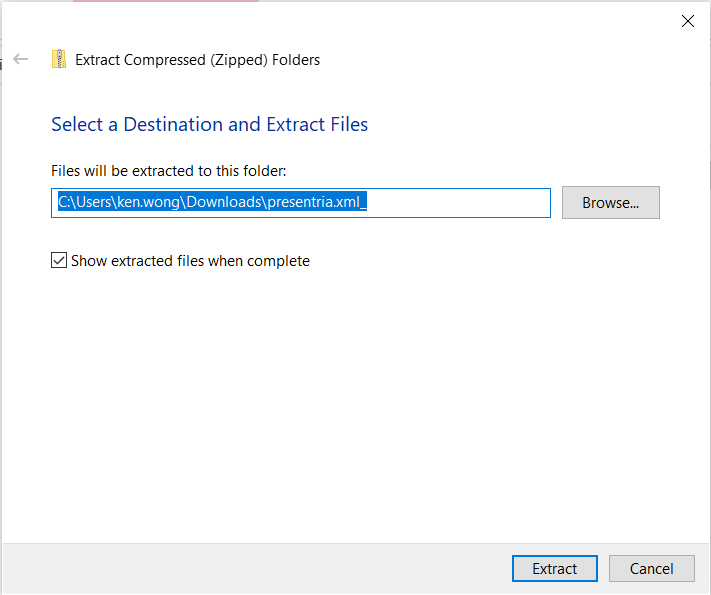
c. Write down or copy the location path of the destination folder. We'll need to use this information to build the "Catalog URL" later. Click "Extract"
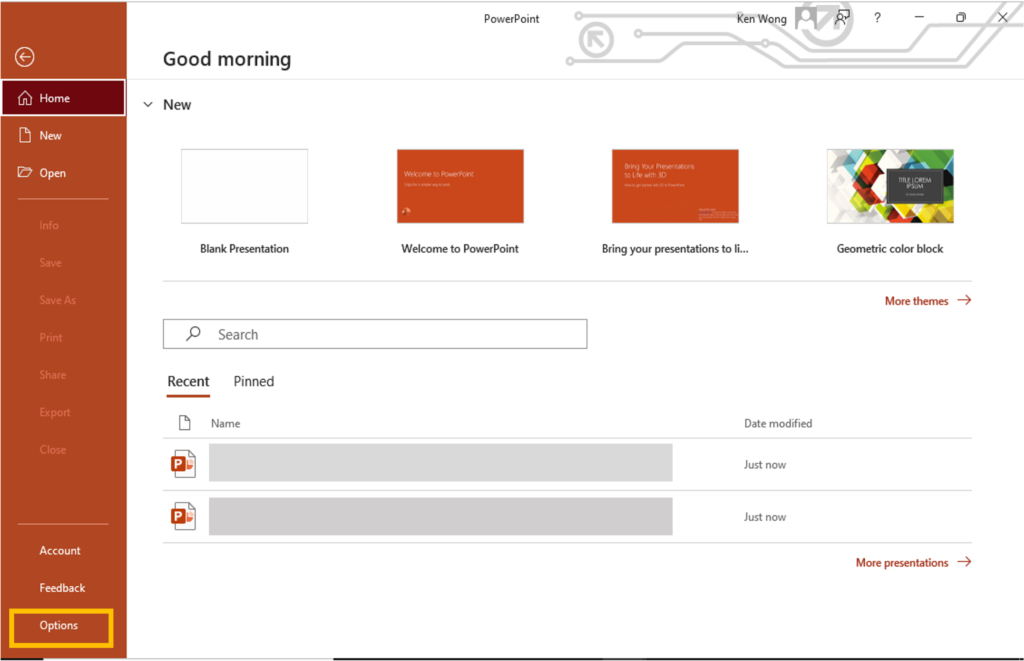
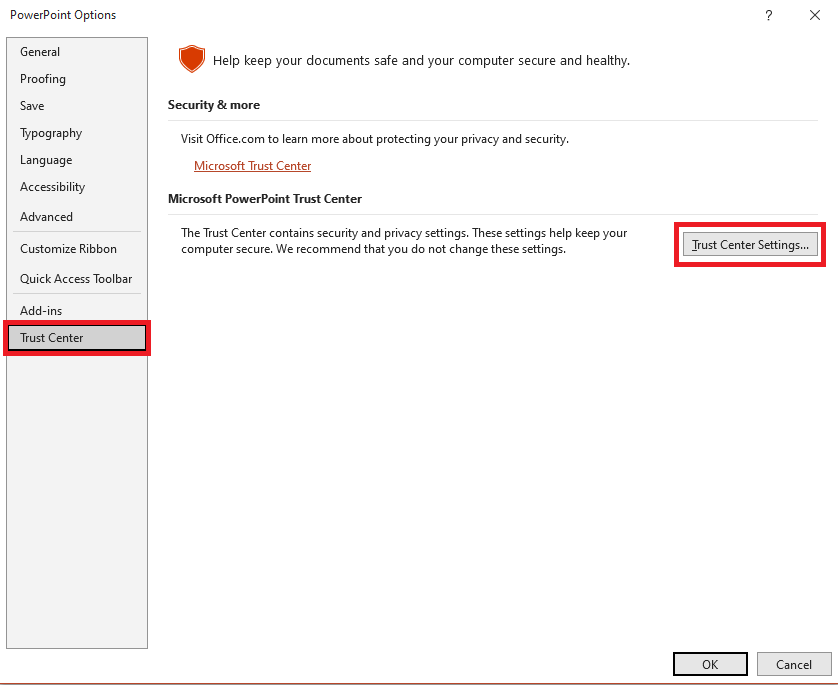
d. Run PowerPoint. From the startup screen (or click the File tab), select Options, Trust Center, Trust Center Settings, Trusted Add-in Catalogs.
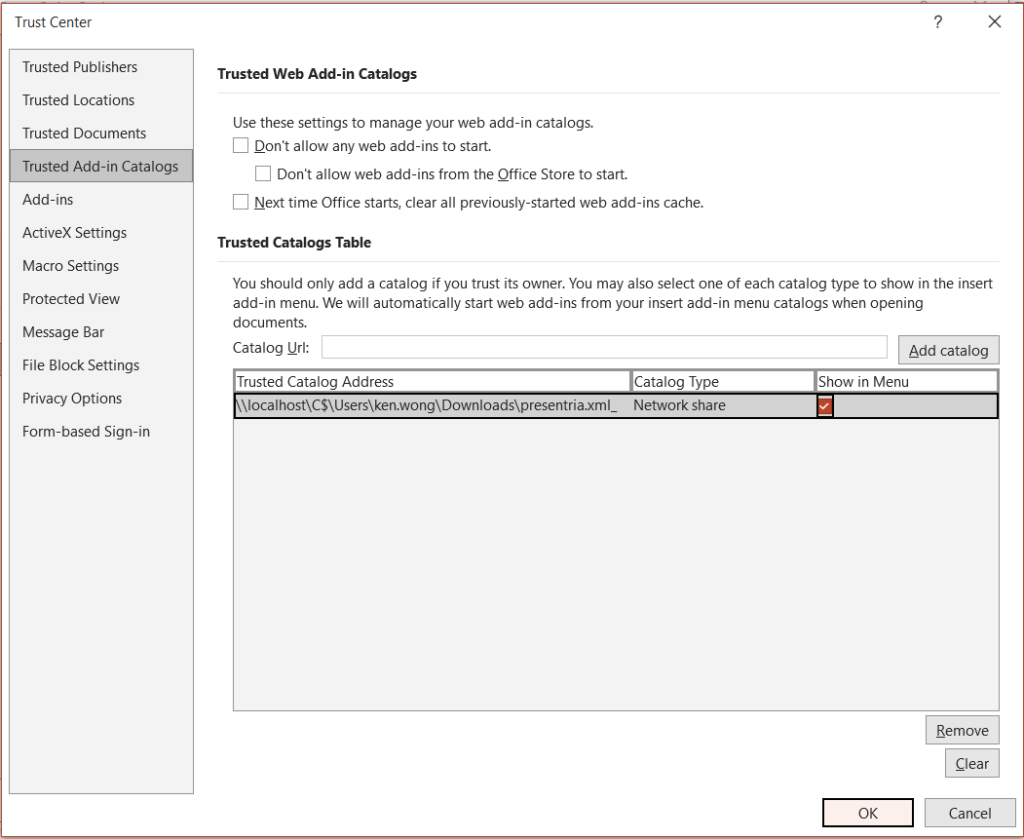
e. Build your Catalog URL. In this example, the location path of the destination folder where the presentria.xml_ file resides is:
C:\Users\ken.wong\Downloads\presentria.xml_
Hence, the corresponding "Catalog URL" in PowerPoint will become:
\\localhost\C$\Users\ken.wong\Downloads\presentria.xml_
In other words, you'll need to add \\localhost\C$\ in front of your destination folder location to build the Catalog URL.
(Note: If your file is located in another drive such "D:", write \\localhost\D$\" instead)
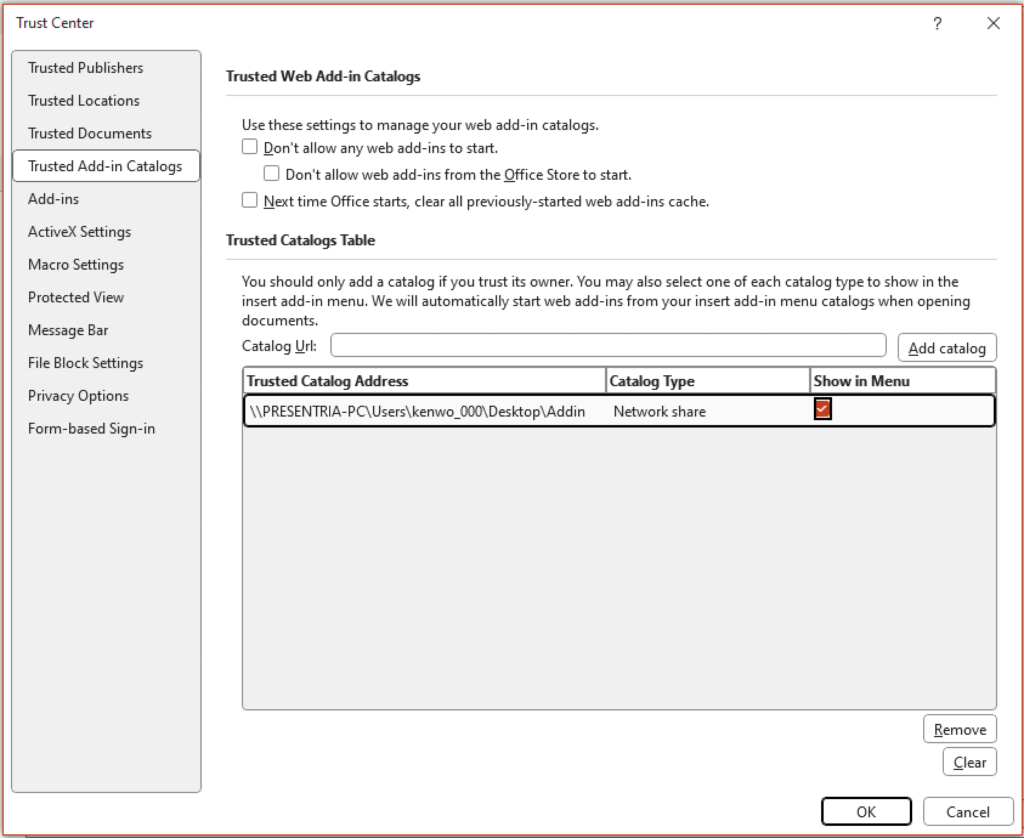
f. In the Trusted Add-in Catalogs page, enter this Catalog URL, click Add Catalog, check "Show in Menu" and click OK.
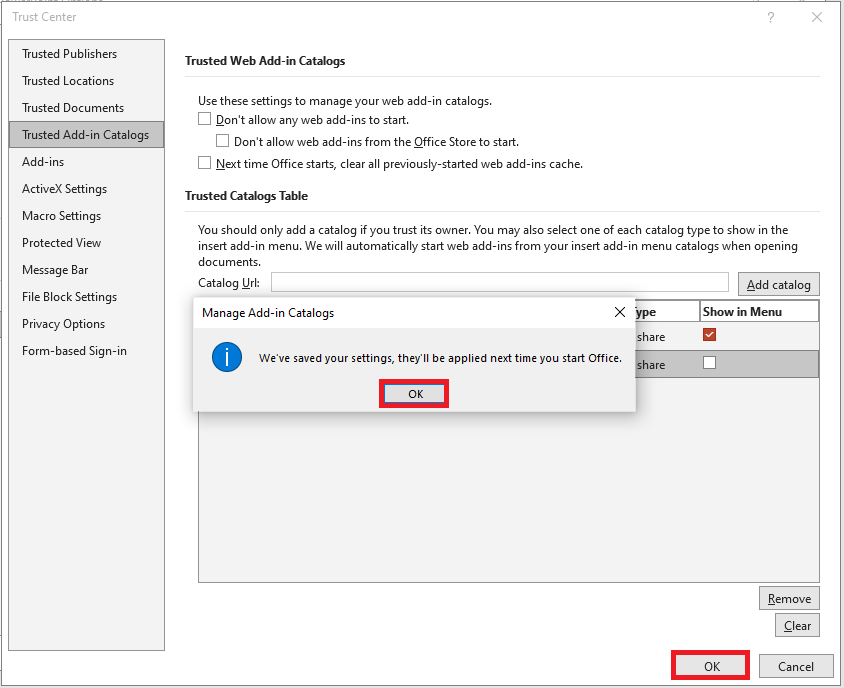
g. Once it's done, click OK again on the prompt and then restart your PowerPoint app.
Instructions for Option "B":
a. Download the zipped add-in file called "presentria.xml" here.
b. Create a new folder and name it "Addin". In this example, I put the folder on my desktop.
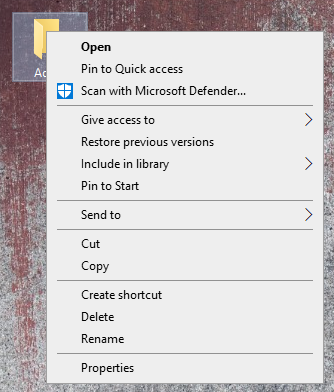
c. Right click on this newly created "Addin" folder, select "Properties"
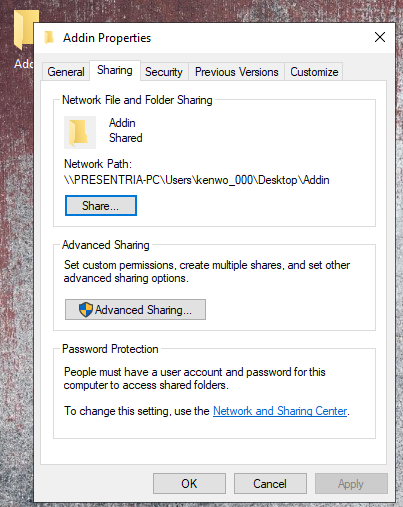
d. Go to the "Sharing" tab and click the "Share..." button.
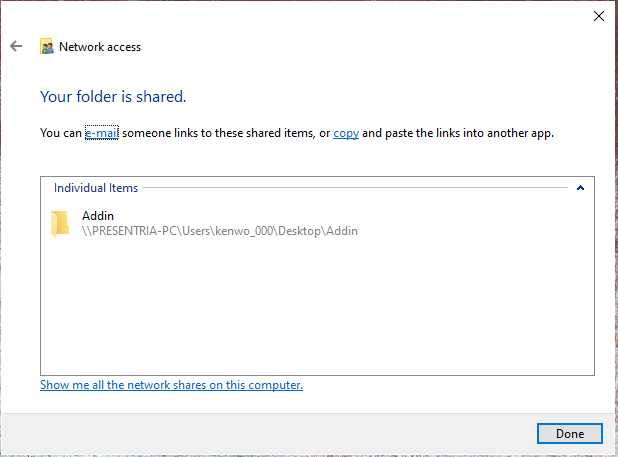
e. Select the name of the user and then press the "Share" button.

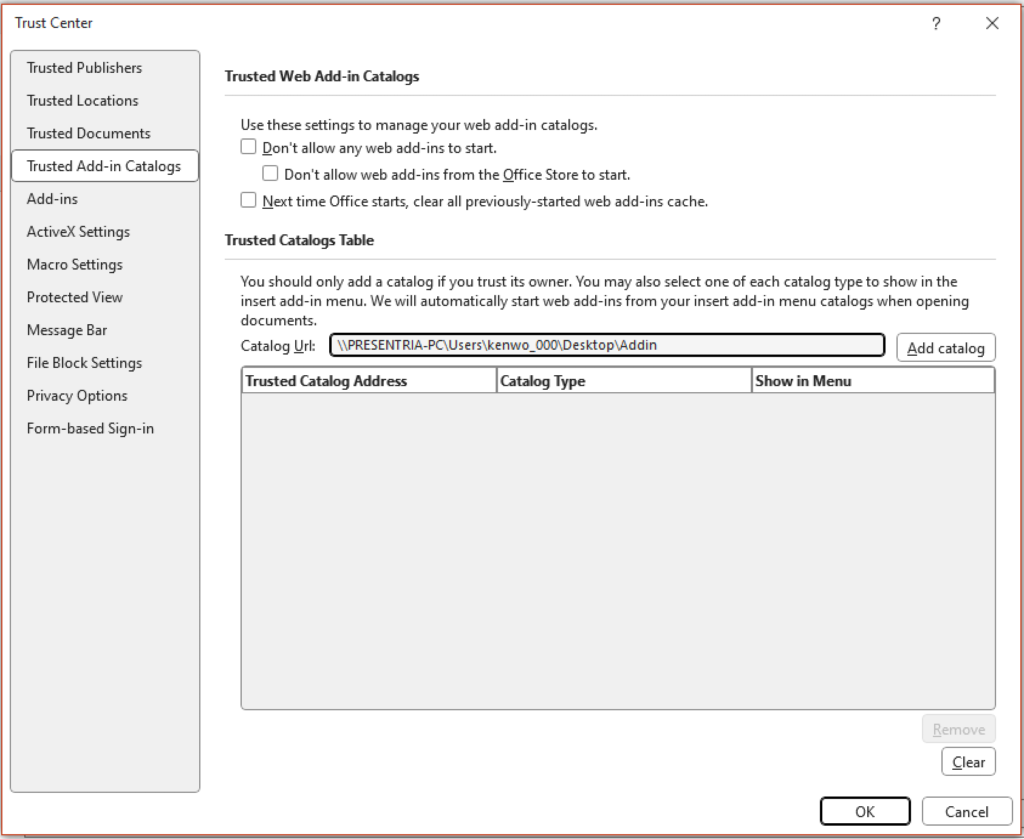
f. Write down or copy the location path of the destination folder. We'll need to use this information to build the "Catalog URL" later. In this case, it is \\PRESENTRIA-PC\Users\kenwo_000\Desktop\Addin
Press the "Done" button when it's done.
(Note: PRESENTRIA-PC is my computer's name and kenwo_000 is the username in this example)
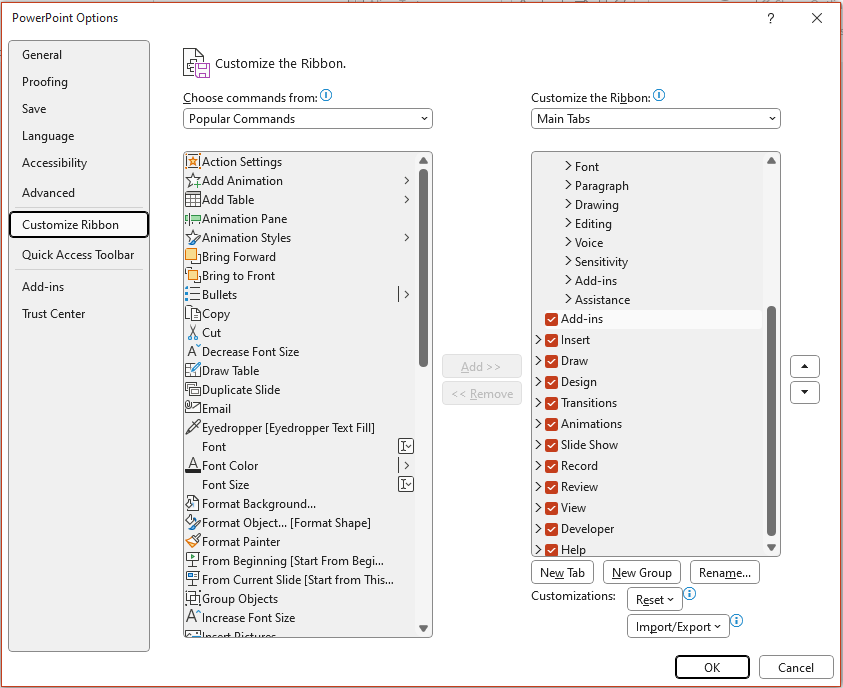
 g. Run PowerPoint. From the startup screen (or click the File tab), select Options, Customize Ribbon.
We want to add a Developer tab to the Ribbon so please put a check mark next to "Developer" on the right-hand side of the screen, under the "Customize the Ribbon: Main Tabs" section. Click OK.
h. In this Options menu, go to Trust Center, Trust Center Settings, Trusted Add-in Catalogs and then
enter this Catalog URL, click Add Catalog, check "Show in Menu" and click OK.
In this example, the Catalog URL is:
\\PRESENTRIA-PC\Users\kenwo_000\Desktop\Addin
i. Click OK to save and then restart your PowerPoint application.

Copy the question link from the question bank:
a. Create your Presentria quiz in the question bank as usual in your Instructor Portal (https://instructor.presentria.com).
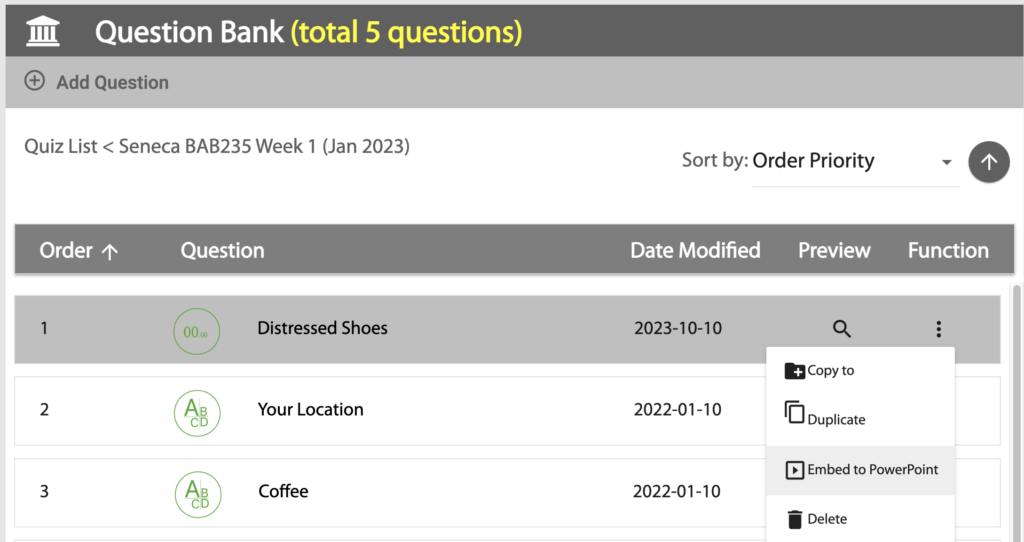
b. Select the question that you want to display inside PowerPoint, click the kebab menu (the vertical 3-dot menu), and press the "Embed to PowerPoint" button to copy the "Question Link".
 Paste the question link in PowerPoint:
a. Insert a new slide in PowerPoint.
b. If the Ribbon is not displayed, click the "View" menu
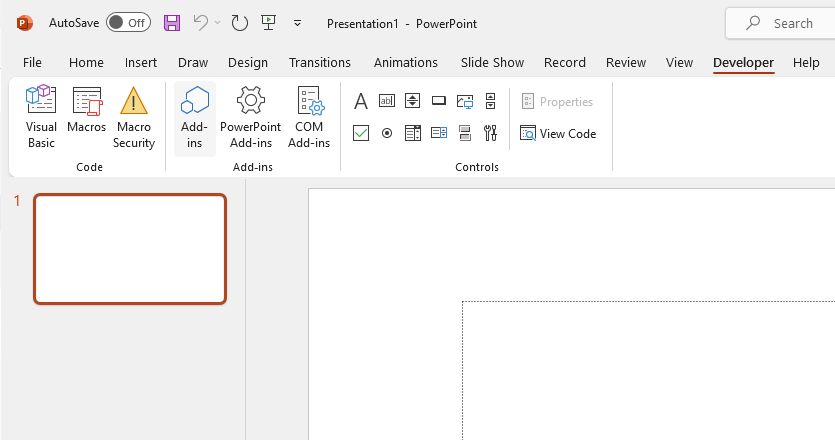
c. Go to the Ribbon, Insert tab, and click the My Add-in icon.
![]()
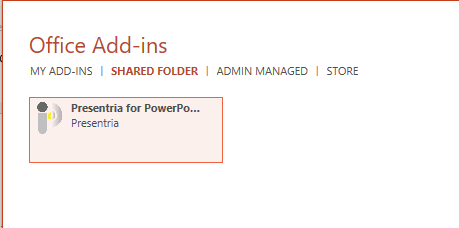
d. A pop-up window will appear. Go to the "SHARED FOLDER" page. Select "Presentria for PowerPoint" and click the "Add" button to insert the Presentria Add-in to your PowerPoint slide.
e. If there's no Add-in icon on your Insert tab (as in Option "B"), go to the Developer tab on the ribbon and click the Add-ins icon there.
f. A pop-up window will appear. Go to "SHARED FOLDER" page, and then select "Presentria for PowerPoint" and click the "Add" button to insert the Presentria Add-in to your PowerPoint slide.
g. You should see a resizable Presentria add-in on your slide. In a few seconds, you'll be asked for the question link. Just paste it there.
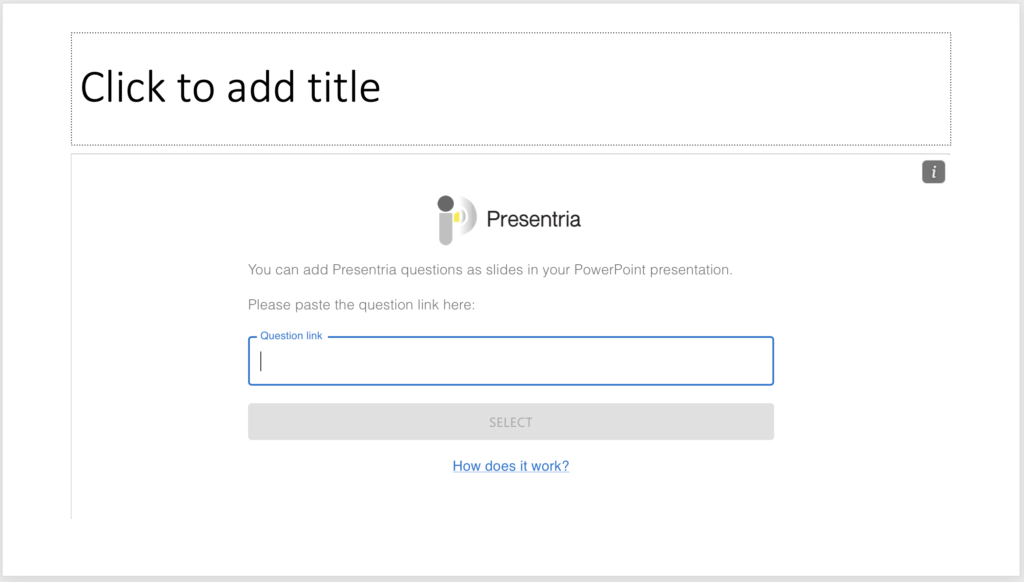
h. Paste the question link and then click the blue-color "Select" button. Save your file, done!

i. For optimal viewing, you can resize the Presentria screen to cover the whole PowerPoint slide.
j. To ask another Presentria question in another slide, just go back to your question bank in the Presentria Instructor Portal to copy the Question Link of that 2nd question, then simply insert the Presentria add-in again on your other slide.

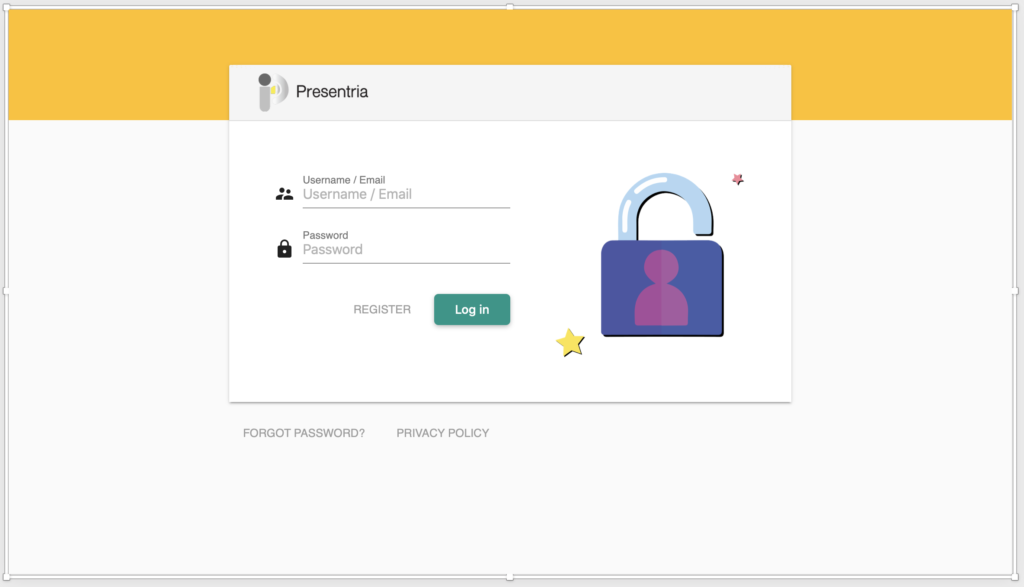
Log-into Presentria before your presentation
a. A few minutes before your presentation, go to the first slide where you've embedded the Presentria quiz to log into our system.
b. Go back to the beginning of your PowerPoint presentation and present as usual.
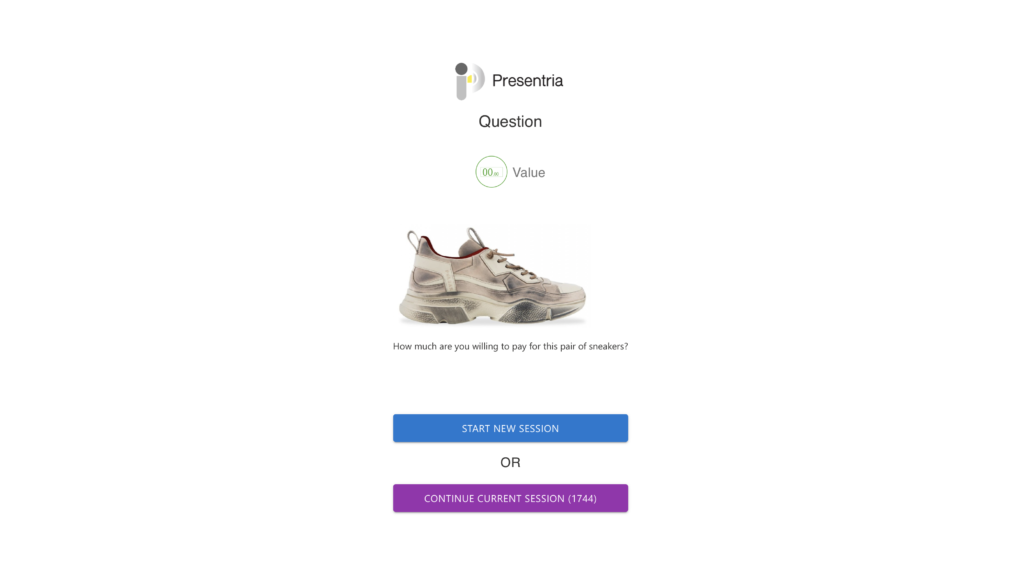
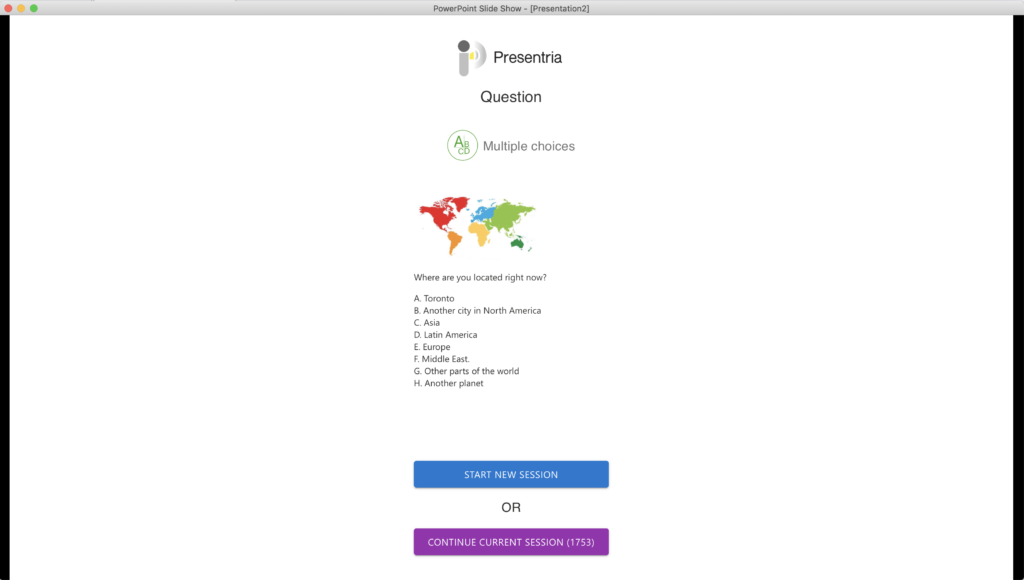
c. When you've arrived at the first slide where you've embedded the Presentria question, click the blue-color "Start New Session" button.
d. You'll be shown the Presentria screen on this PowerPoint slide. Proceed with your question as usual.

e. Once the Presentria question is done, just move to the next slide in the PowerPoint to continue your presentation. (Design tips: If you're used to clicking on the screen to move to the next slide, try not to cover the whole page with the Presentria box so that you can click the empty area (e.g., lower right hand corner) to move to the next slide.)
f. If you have another Presentria question embedded in the same presentation, you'll be asked if you want to start a new session or continue the current one. Click the purple-color "Continue Current Session" button so that this question get displayed automatically at students' computers or smartphones.
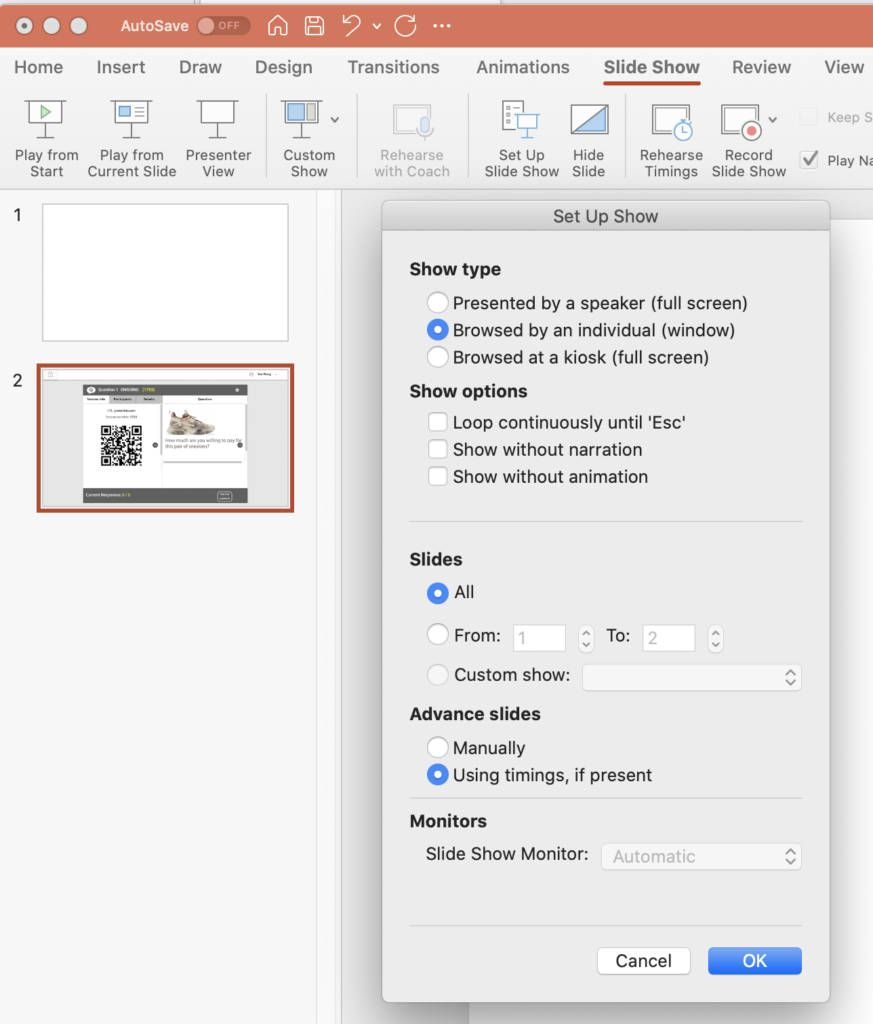
g. Depending on your slide design and presentation style, you may find the "Browsed by an individual (window)" show type useful. That is, in the Ribbon, go to the "Slide Show" tab, click the "Set up Slide Show" icon, and then select "Browsed by an individual (window)"]. This step is optional.
 Done!
Done!
This procedure is written for PC/Windows users. If you use a Mac, read the instructions here.