 Presentria GO: Giving students a new way to learn outside the classroom.
On this page, you'll learn these tips and tricks:
- To show a video when students arrive at a checkpoint.
- To show an image or a photo when students arrive at a checkpoint.
- To show a PDF file when students arrive at a checkpoint.
- Get students to take a photo at the checkpoint and upload it.
- To ensure the question(s) get displayed at the checkpoint.
- To gamify your trip using time, task, and score sequence.
To show a video when students arrive at a checkpoint
 a. There are several ways to show videos. You can (i) embed a video in your question when setting up your quiz in the question bank (Resources --> Question Bank), (ii) embed a video when setting up a question directly within Presentria GO, (iii) embed a video when displaying content in Presentria GO, or (iv) ask Presentria GO to send a video file to students in the field.
b. If you are setting up the question directly in Presentria GO, the preferred way is to first upload your video clip to one of the streaming platforms, such as YouTube or Vimeo. Then, copy the iFrame code and paste it in the WYSIWYG editor (using the Source code view)
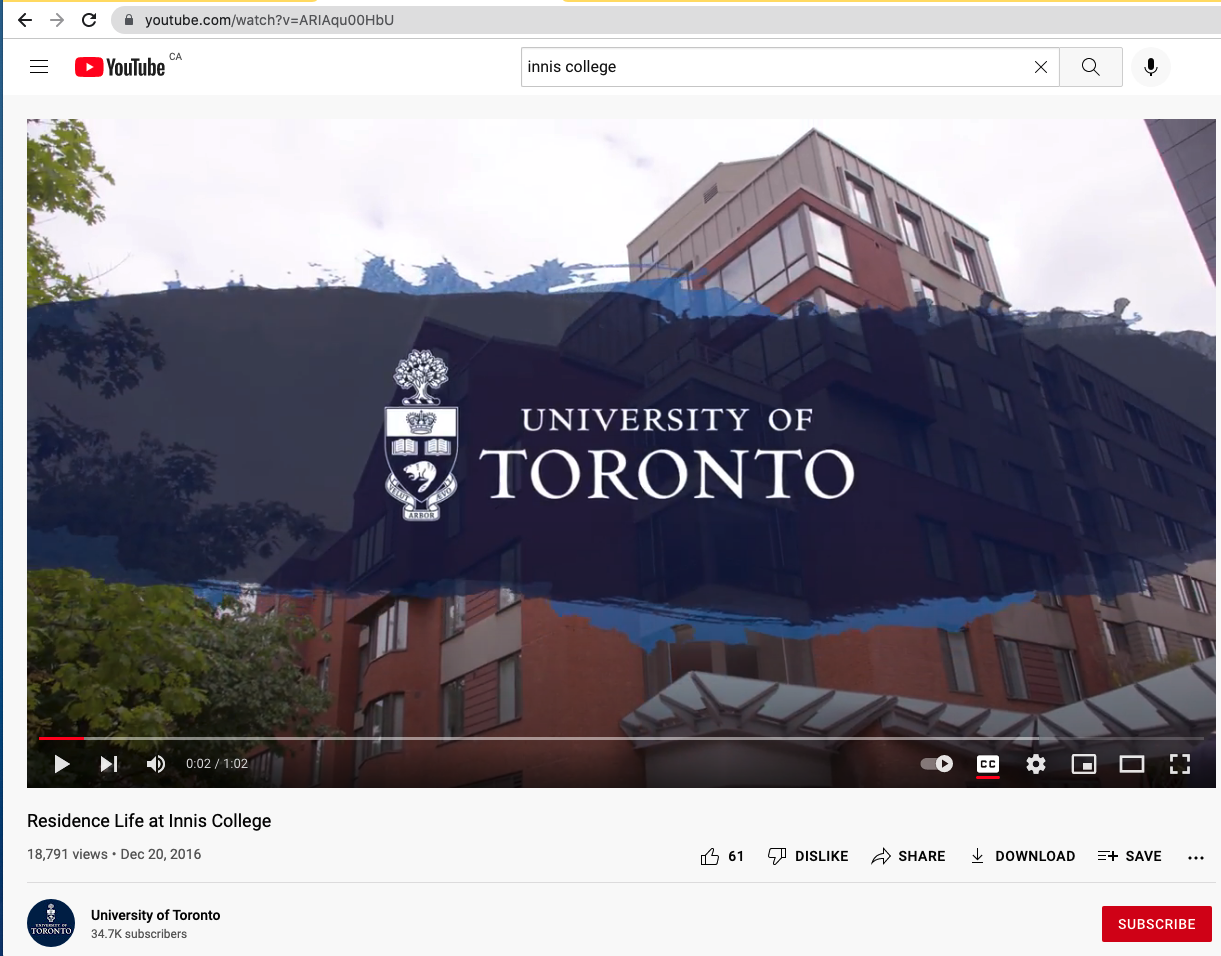
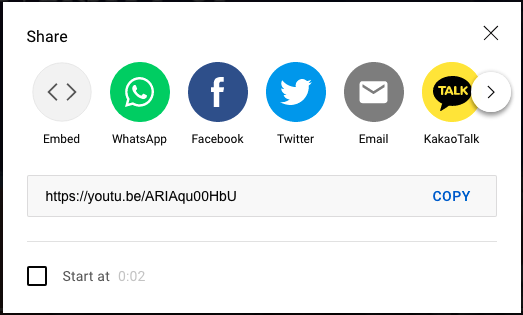
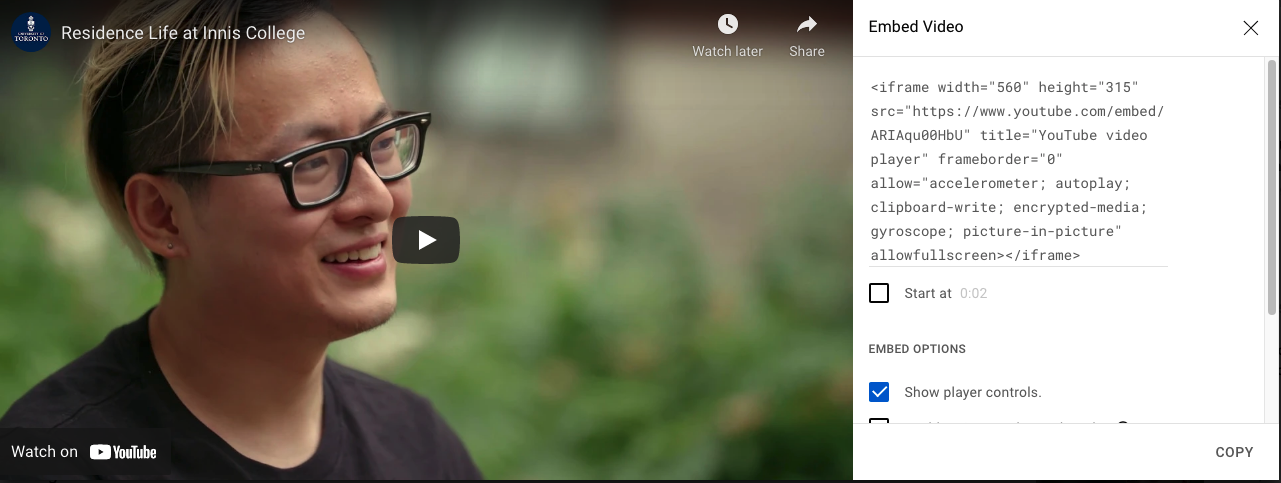
c. If you use YouTube, click the "SHARE" icon at the bottom of your video. Then, click the "Embed" icon. Press "Copy" in the lower right-hand corner to copy the iFrame code.
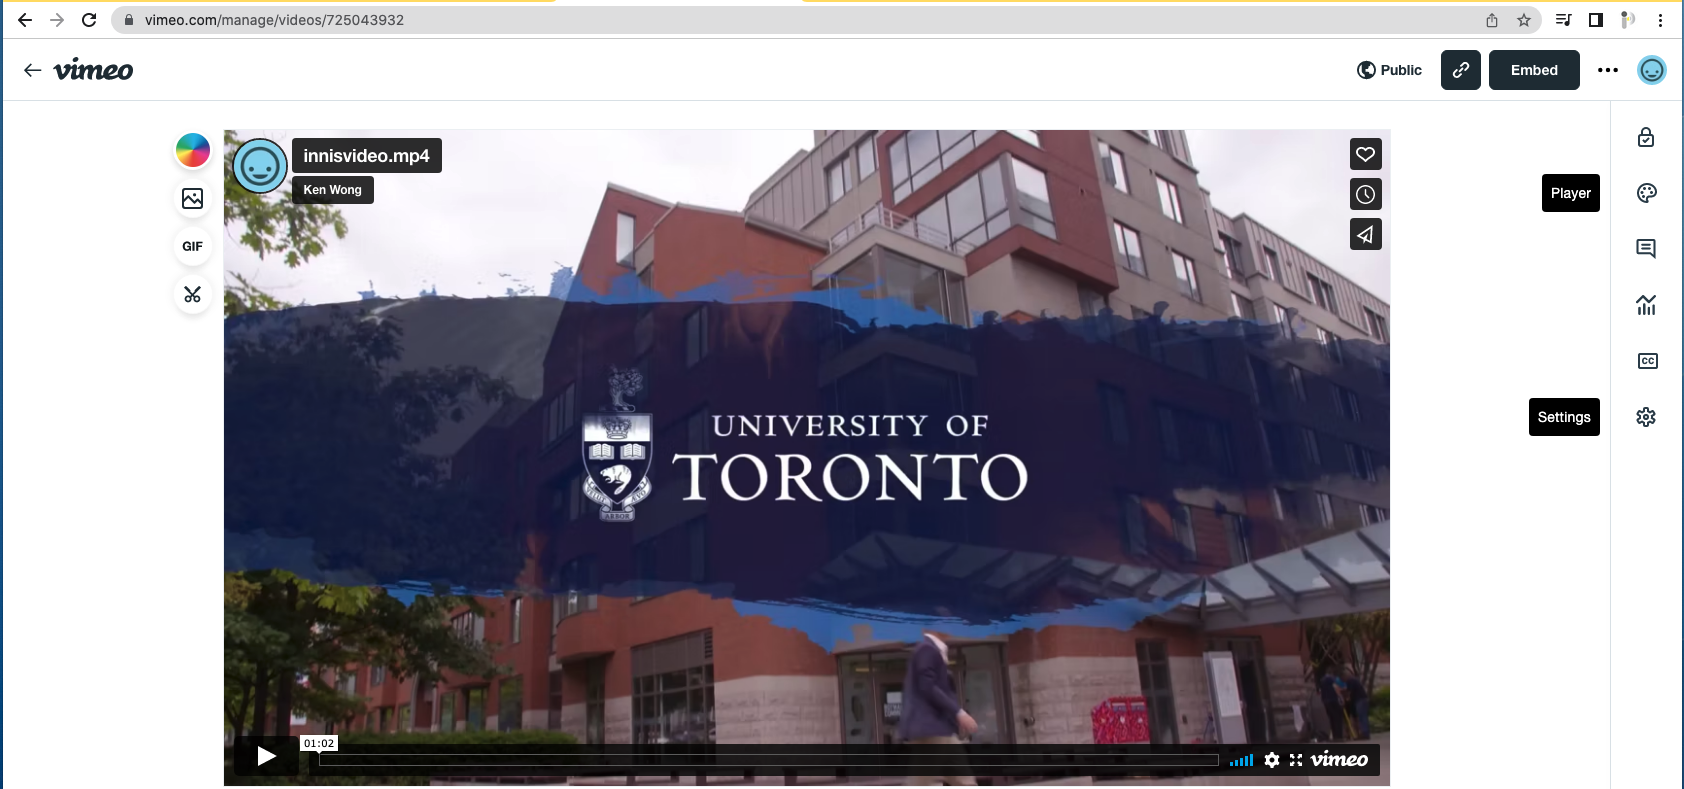
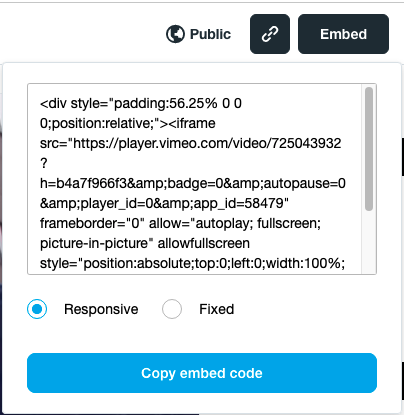
d. If you use Vimeo, go to your video and click the "Embed" icon in the upper right-hand corner. Then, press the "Copy embed code" button.
 a. Once the code is copied from YouTube, Vimeo, or any other video streaming platforms, go to Presentria GO to create your question.
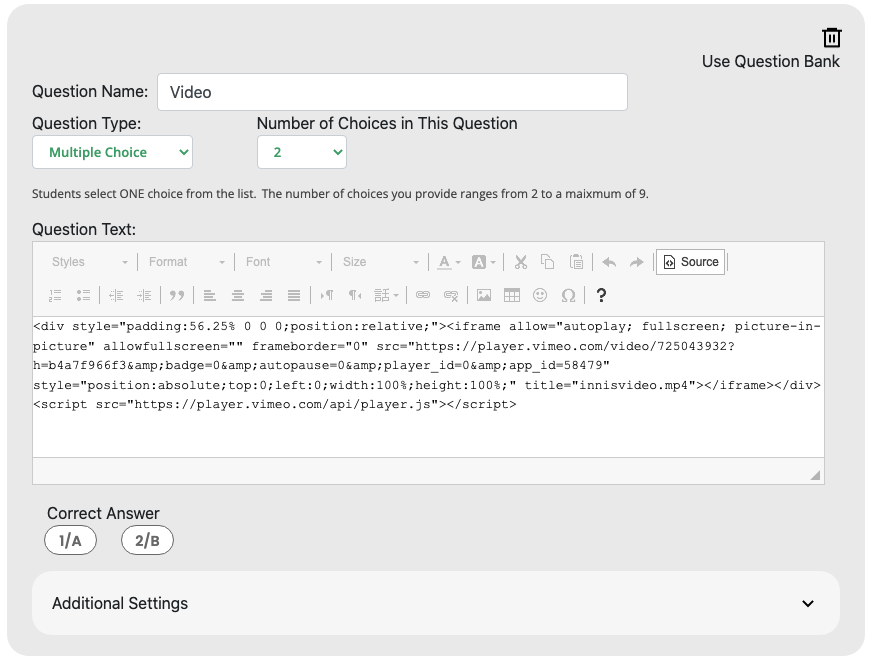
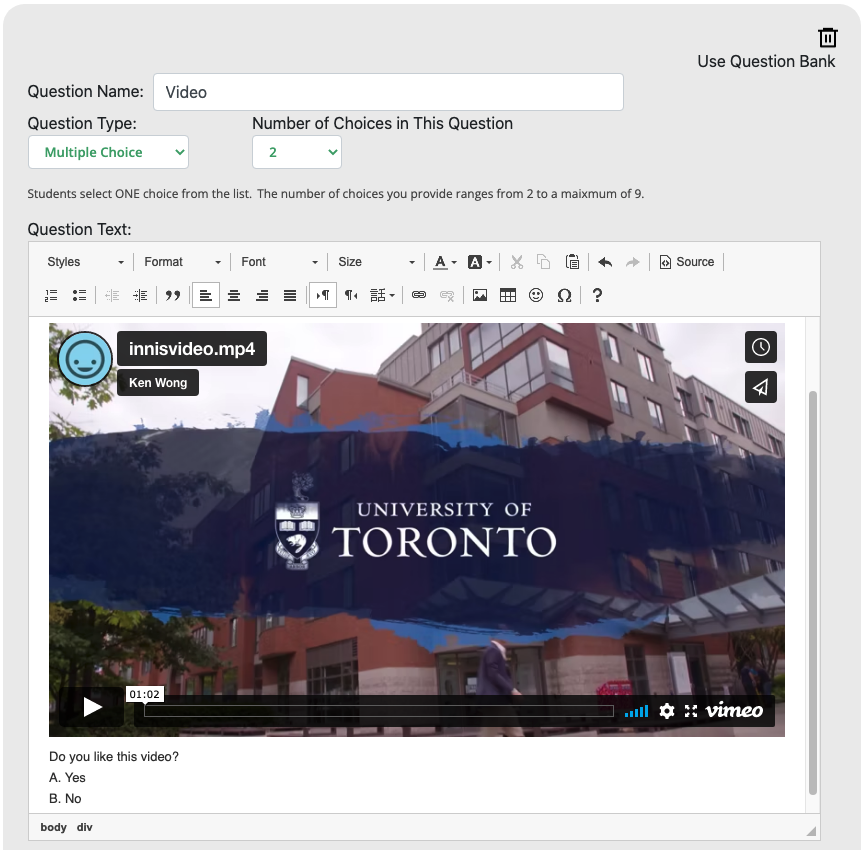
b. To show your video in a question, click "Ask a Question" and then the "Source" button to paste the iFrame code. Press the "Return" key to move the cursor to the bottom of the iFrame code. Then, press the "Source" button again to continue typing out your question. Remember to press the "Save" button when you're finished.
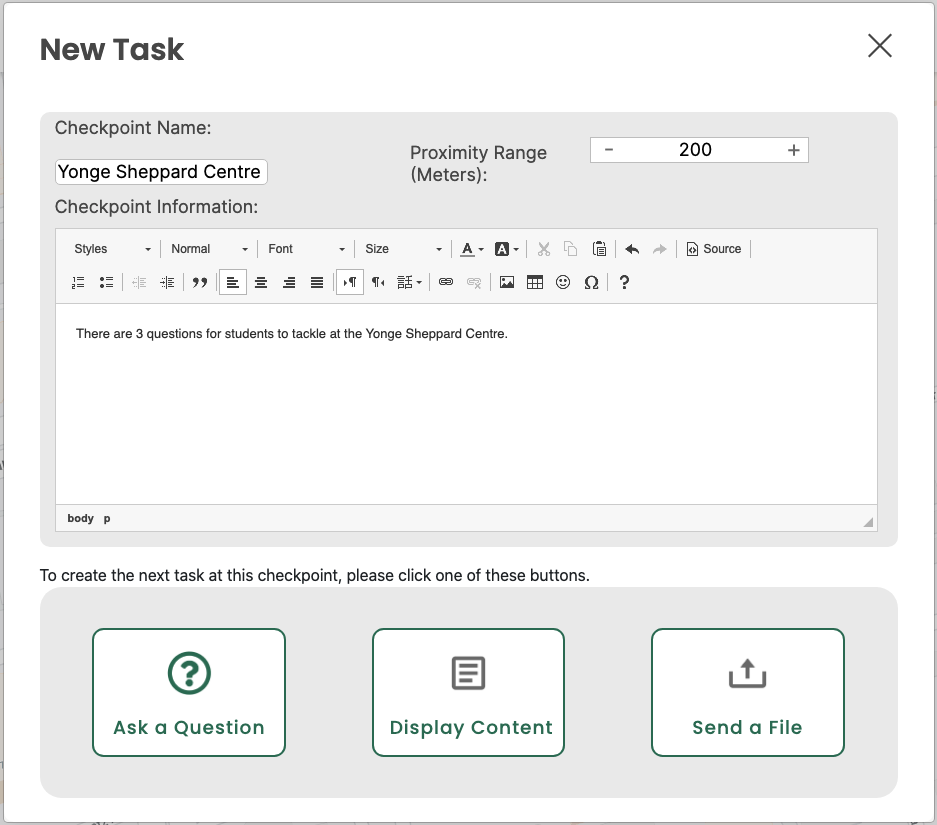
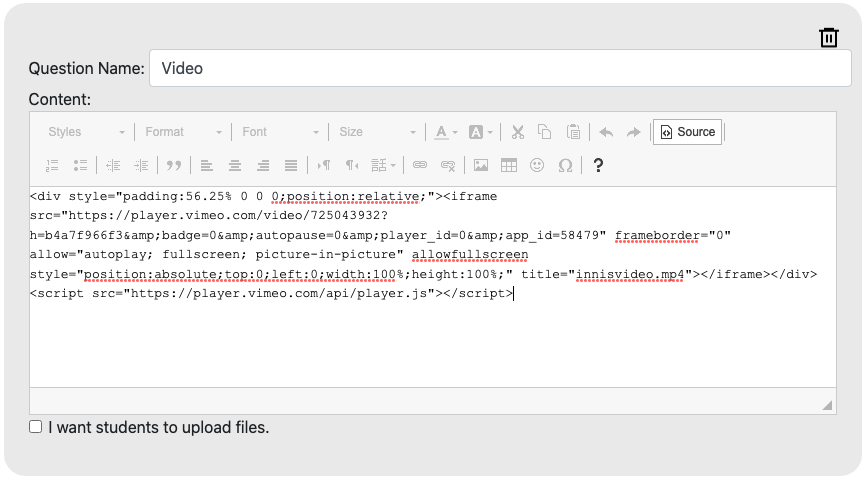
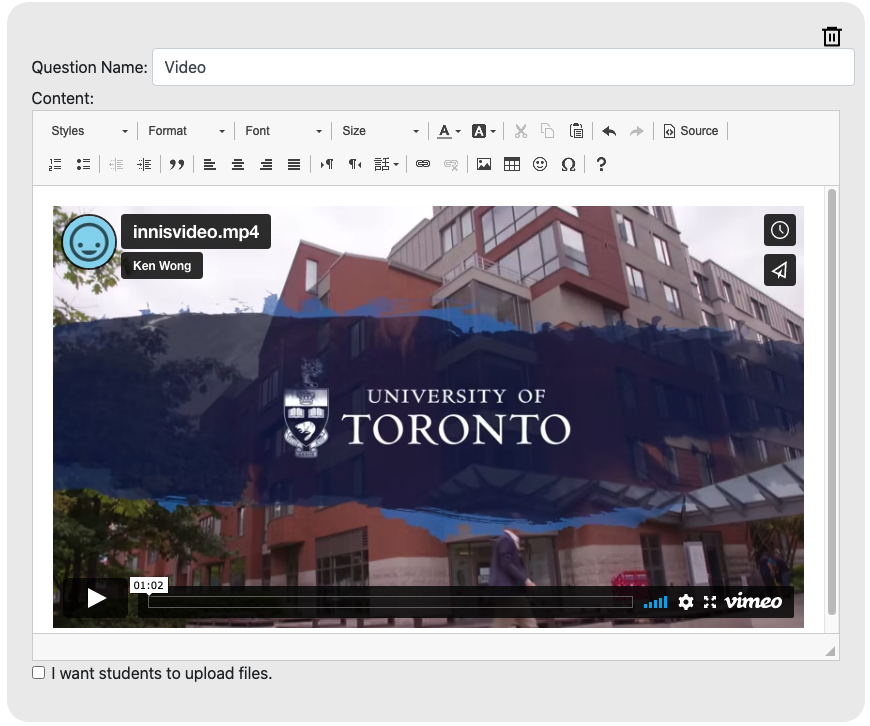
c. If you just want to show a video to your student when they arrive at the checkpoint without asking a question, you should select the "Display Content" icon, press the "Source" button, and then paste the iFrame code there. Press the "Source" button one more time to preview the video. Remember to press the "Save" button when you're finished.
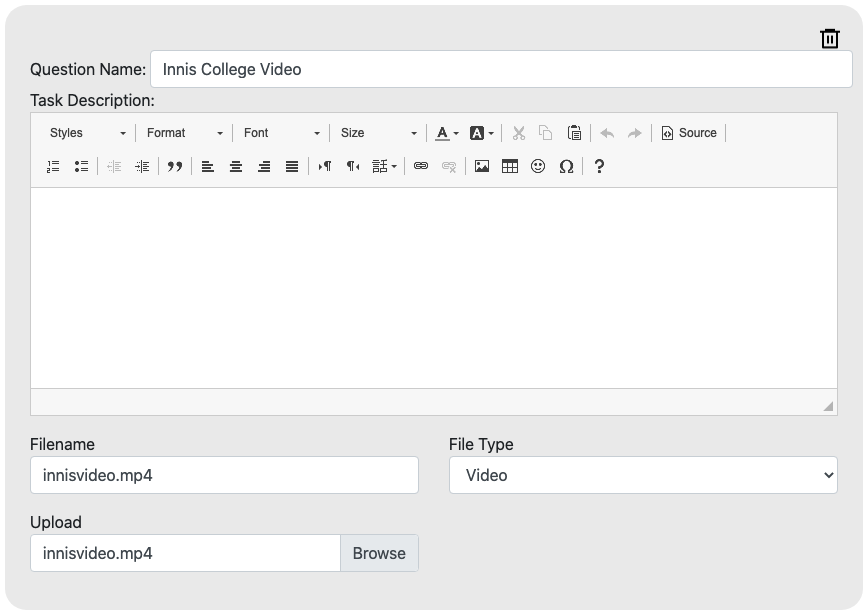
 a. Alternatively, if you have a small video file in .mov or .mp4 format (less than 50MB), you can choose to use the "Send a File" function to push the video to your students at the checkpoint. Make sure you select "Video" in the "File Type" pull-down menu. Remember to press the "Save" button when you're finished.
b. However, this method only works with students who have the latest version of Android and iOS, as older mobile operating system may not support certain codec format of your video file. If you are not sure what kind of smartphones your students are using, please use the YouTube/Vimeo method as shown above.
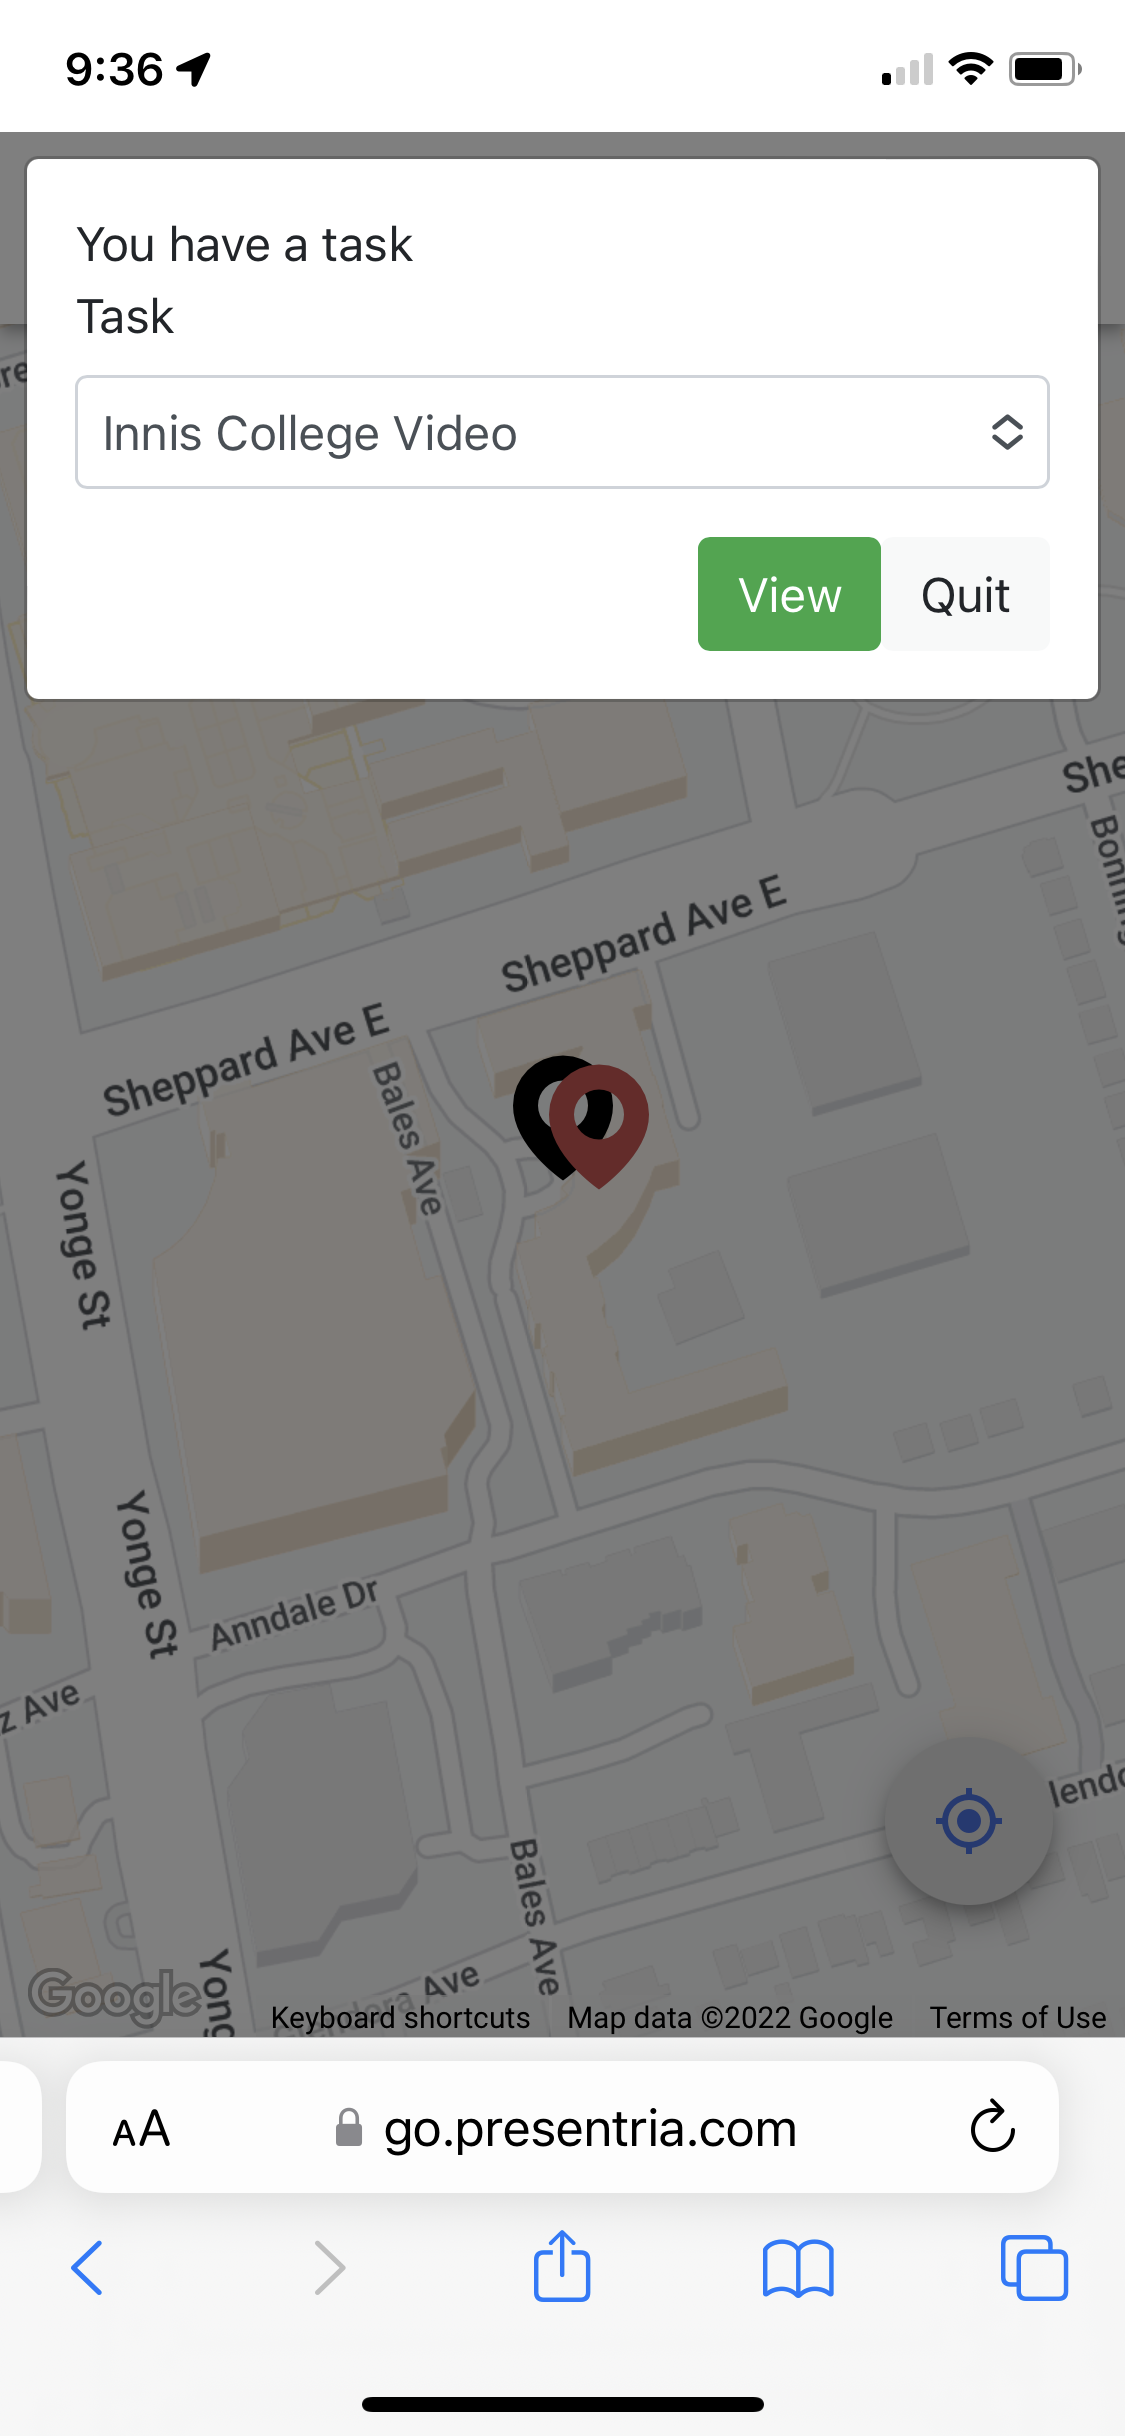
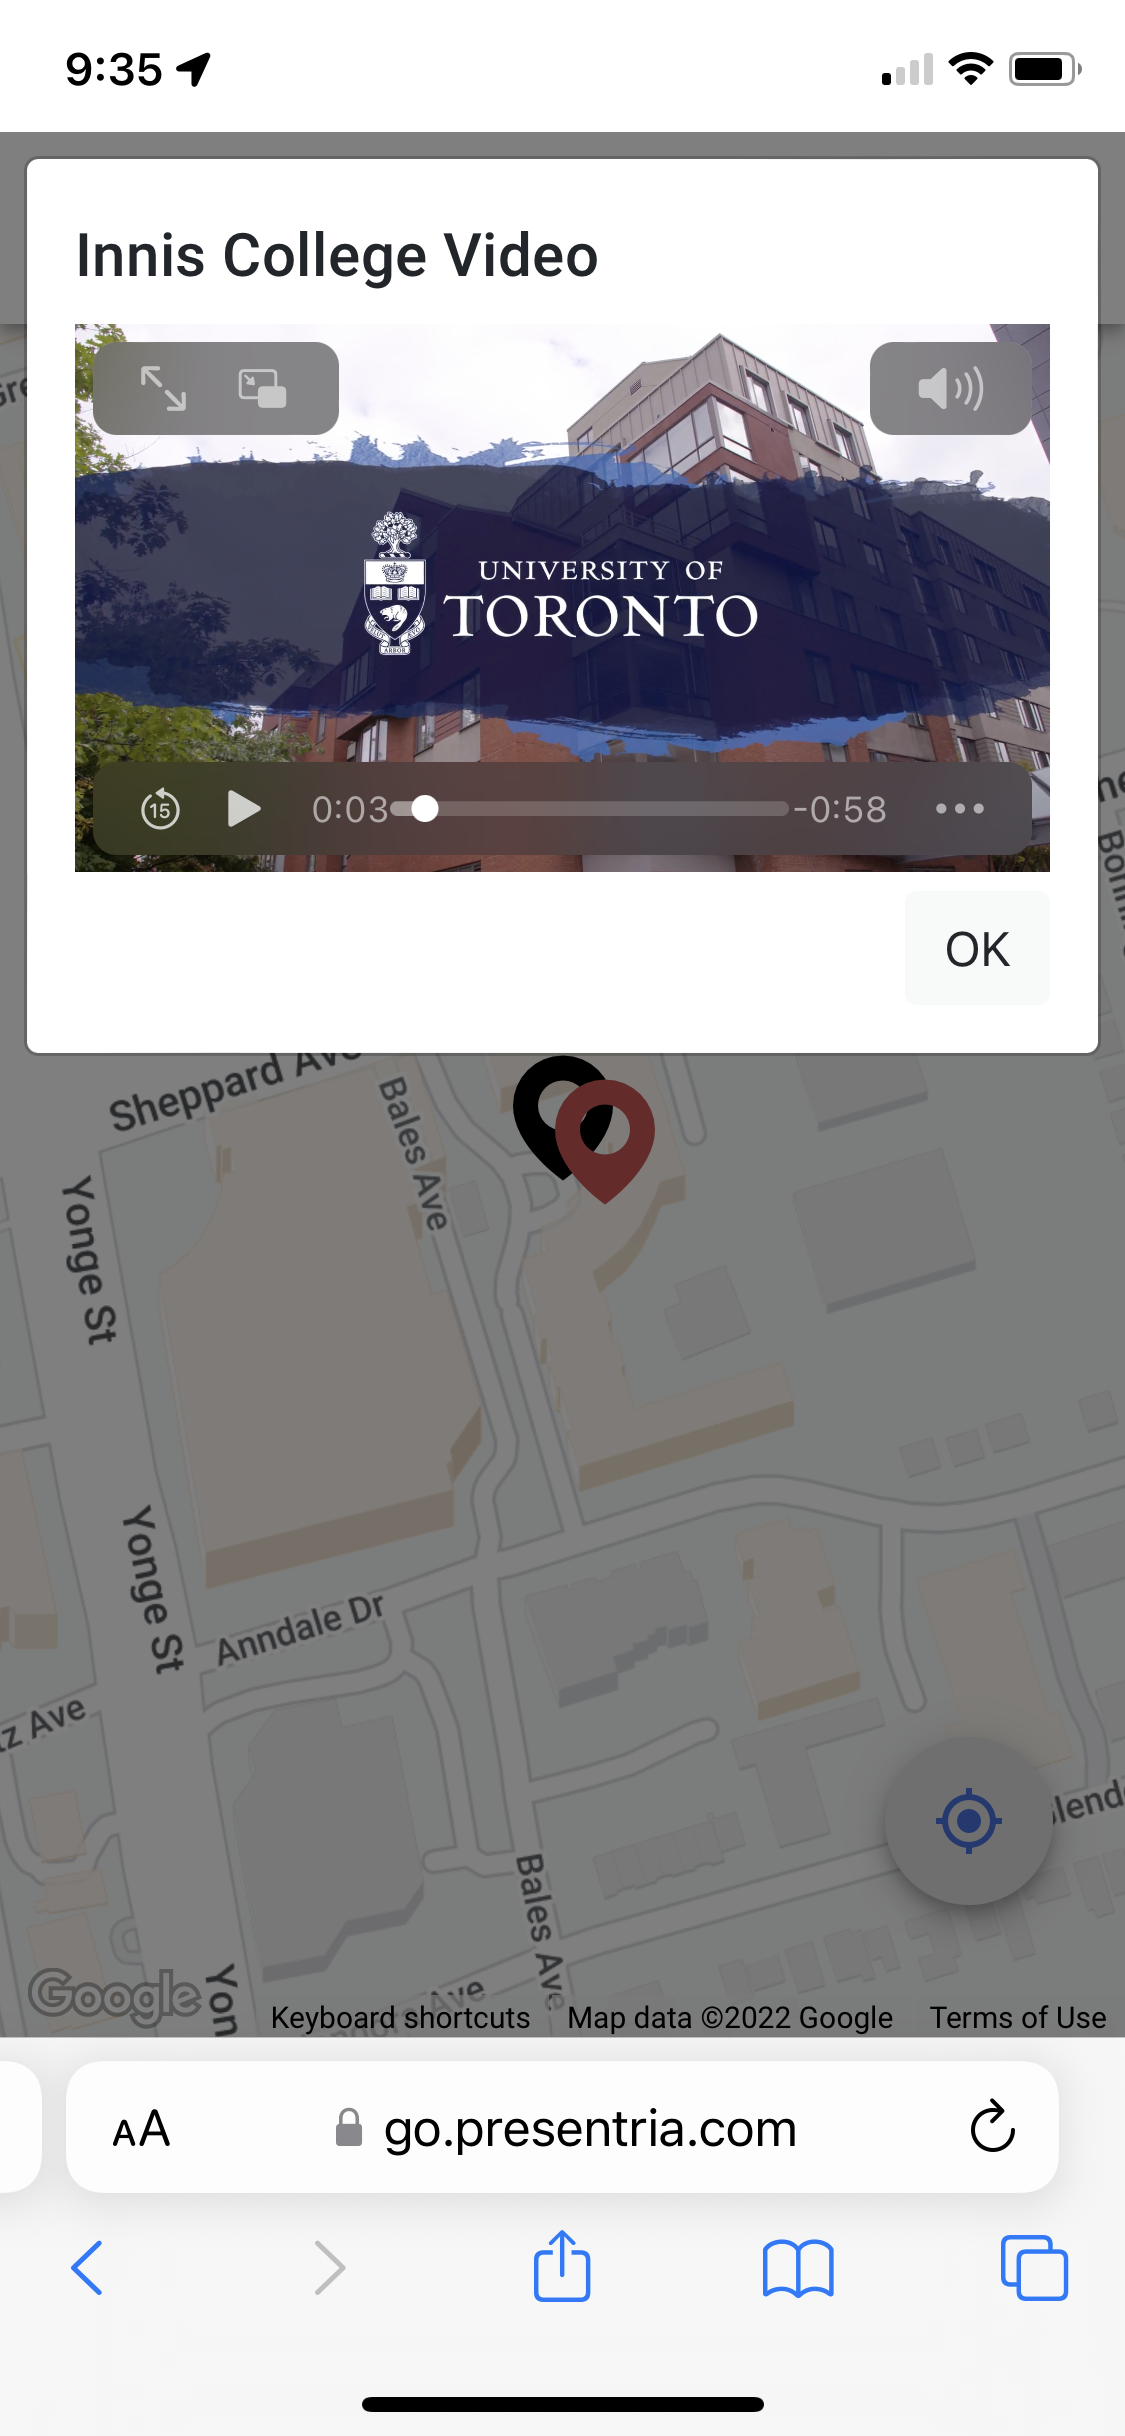
 a. Here's how the video will be shown when a student arrives at the checkpoint after logging into Presentria GO.
To show an image or a photo when students arrive at a checkpoint
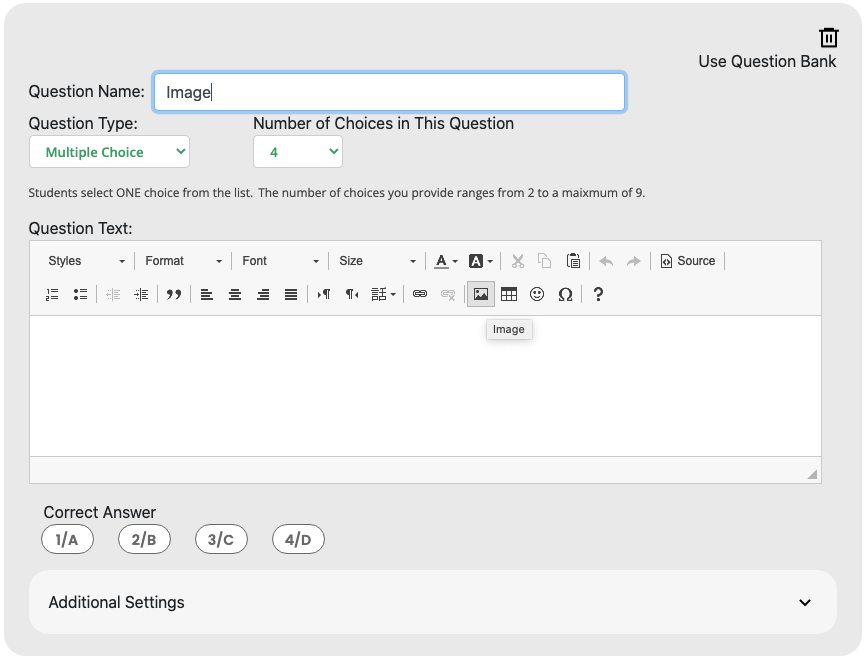
a. There are several ways to show images and photos (.jpg and .png format). You can either (i) upload the .jpg file to your question when setting up your quiz in the question bank (Resources --> Question Bank), (ii) upload the .jpg file when setting up a question directly within Presentria GO, (iii) use the "Display Content" function in Presentria GO to show the graphics / photos without asking a question, or (iv) use the "Send a File" function in Presentria GO to push the graphic file to the student in the field.
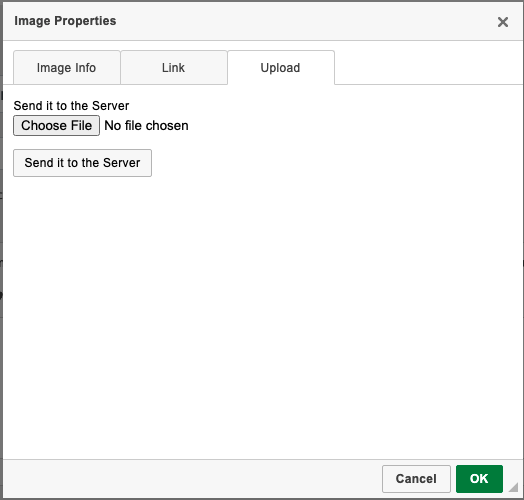
b. No matter you're asking a question or displaying content, just click the image icon on the 2nd row of the icons in your WYSIWYG editor. Then, go to the "Upload" tab, press "Choose File" to locate your graphic/photo file, and then press the "Send it to the Server" button to upload it.
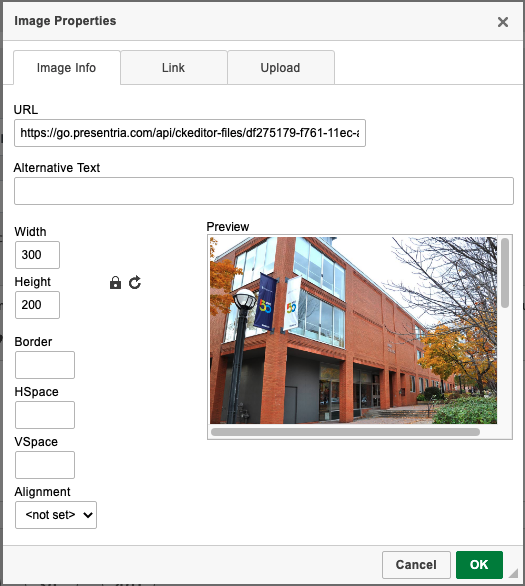
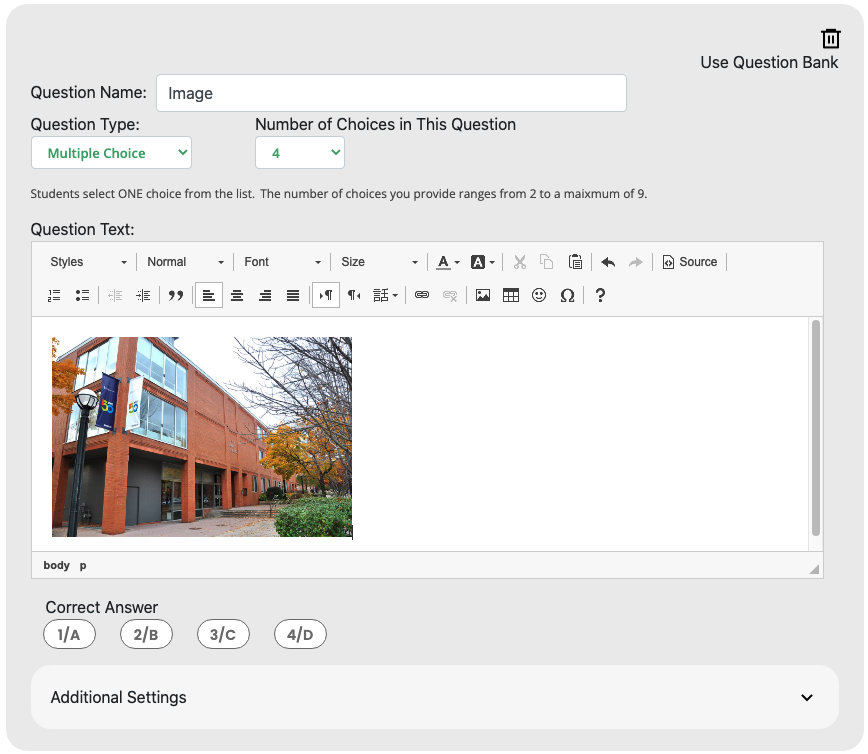
a. The original image or photo may be too large to be displayed properly on a smartphone screen. In most cases, changing the "Width" to "300" would solve the problem. The height will be adjusted automatically when you change the width. Press "OK" once it's done.
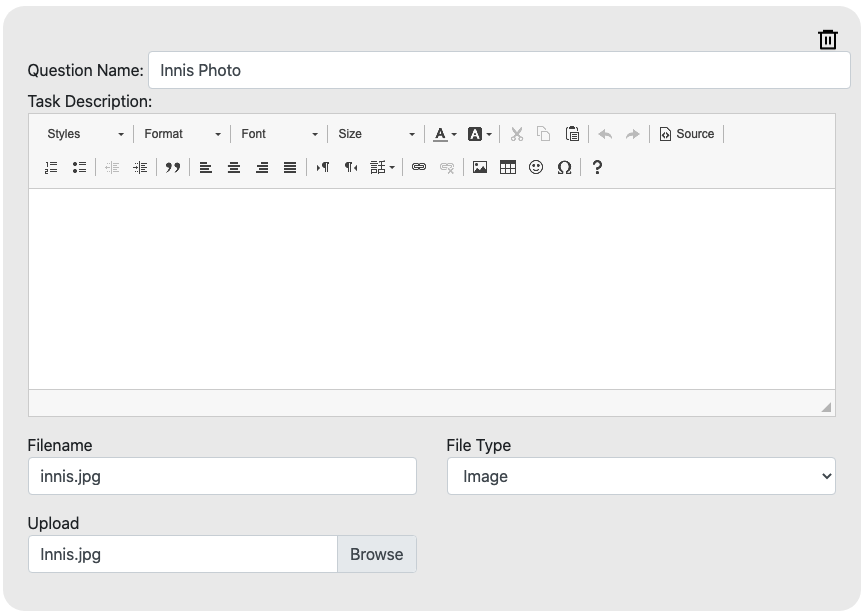
a. If you prefer to send students a graphic file (in .jpg format) instead, press the "Send a File" button, click "Browse" to locate your file, and then press "Open" (or OK).
b. Type the filename (e.g., innis.jpg) and select "Image" under the File Type pull-down menu. Remember to press the "Save" button when you're done.
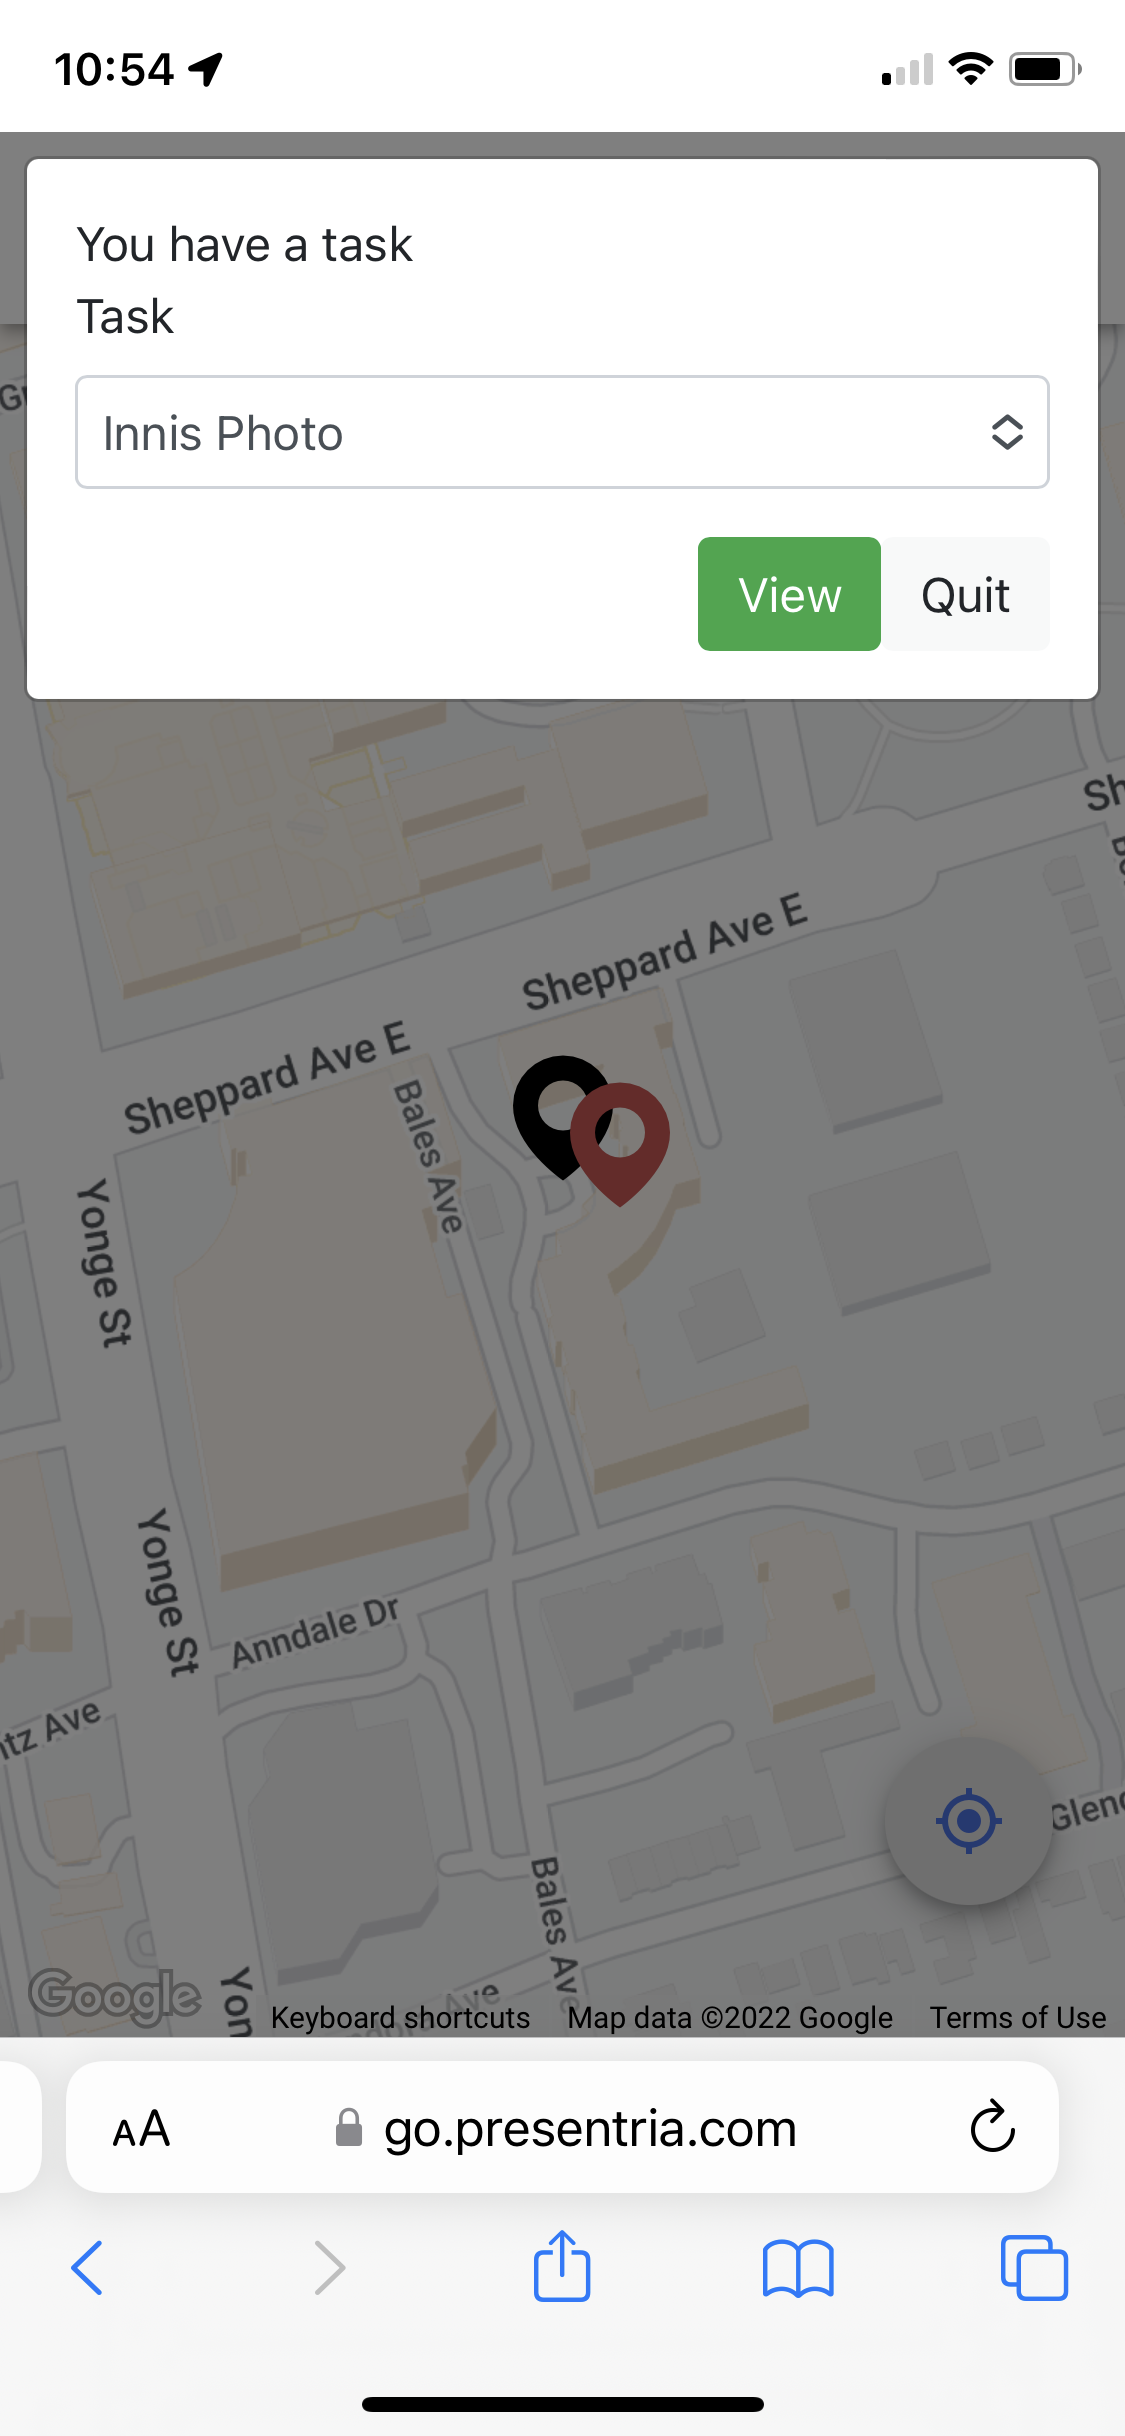
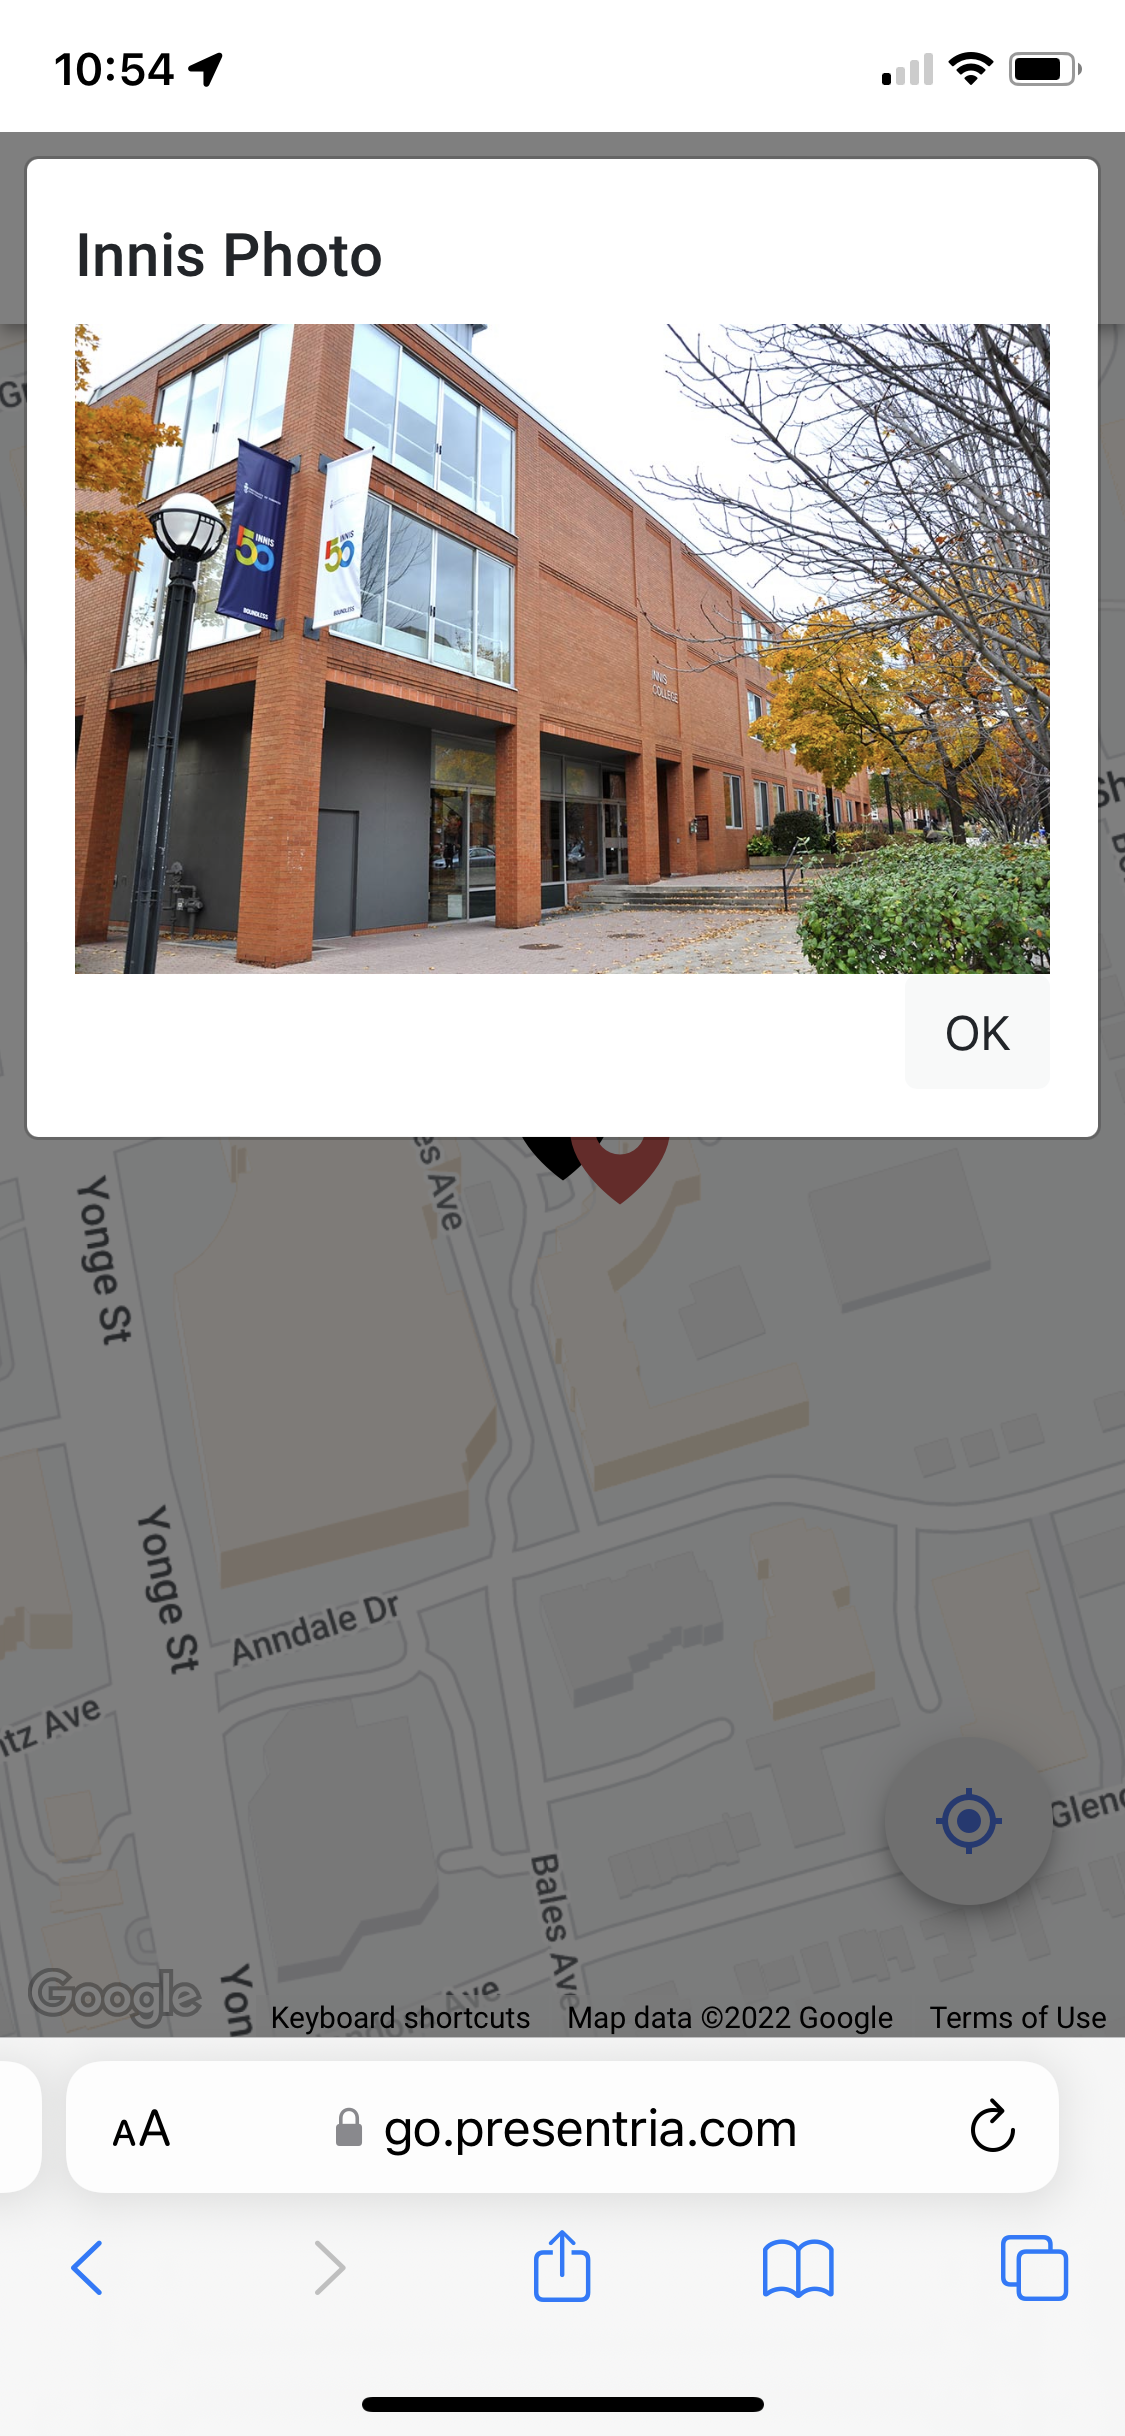
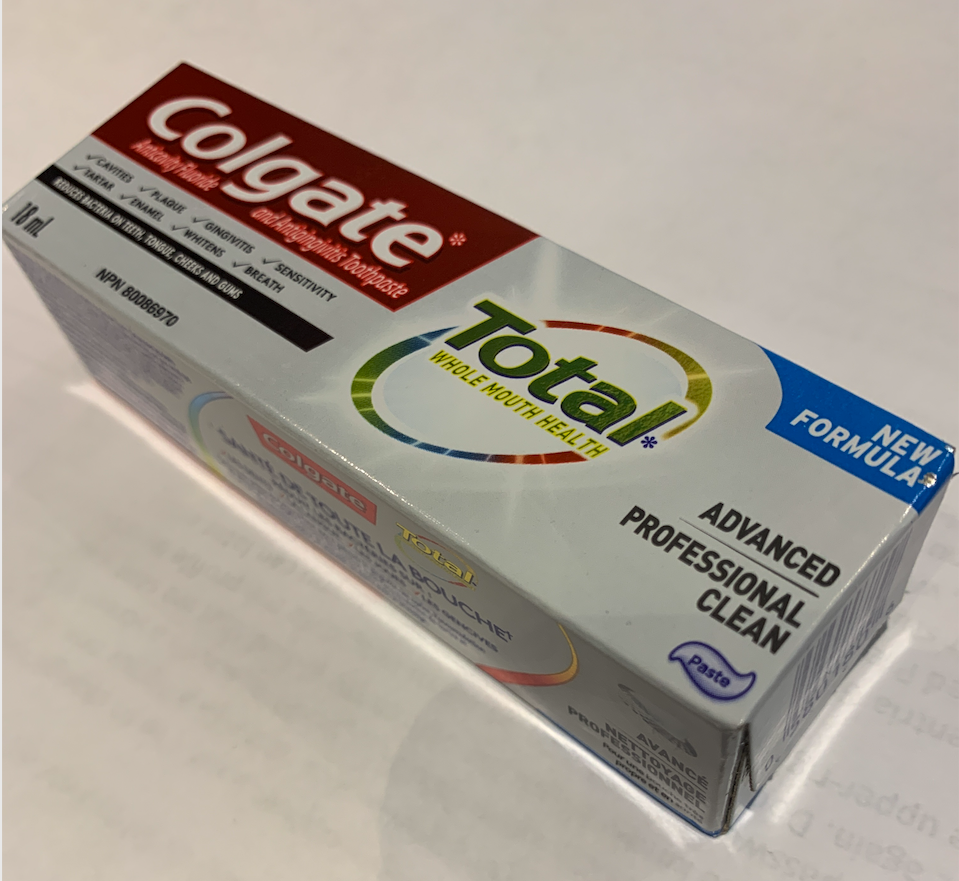
a. Here's how the image will be displayed when a student arrives at the checkpoint after logging into Presentria GO.
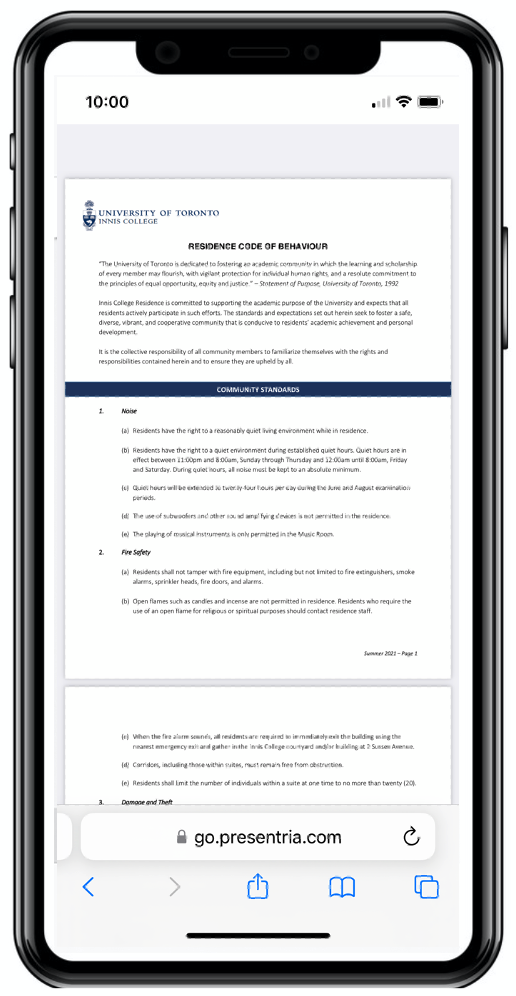
To show a PDF file when students arrive at a checkpoint.
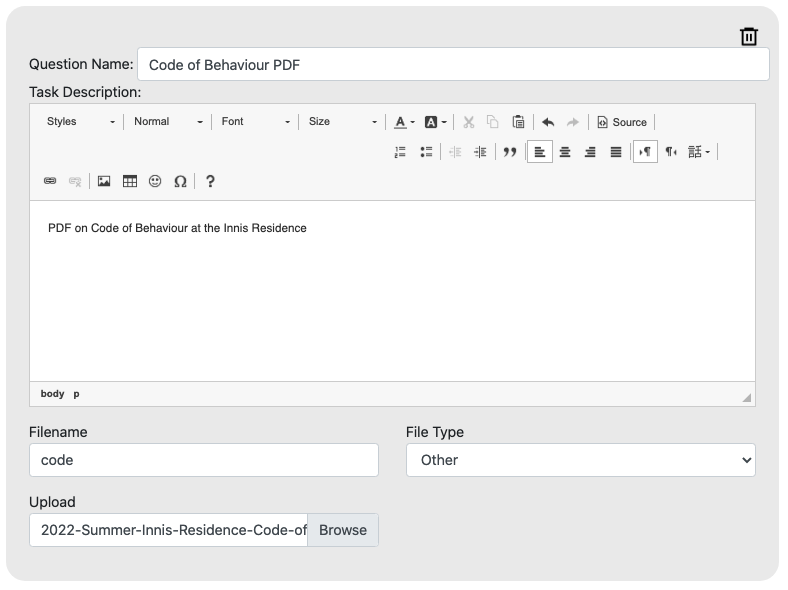
a. When setting up the question in Presentria GO, click "Send a File".
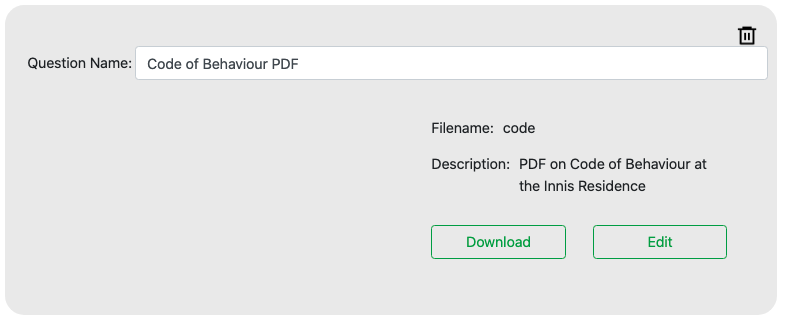
a. Type the Question Name (e.g., Code of Behaviour PDF) and Task Description (e.g., PDF on Code of Behaviour at the Innis Residence).
b. Type the file name (e.g., code).
c. Select "Other" as the File Type.
d. Click "Browse" to locate the PDF file on your computer.
e. Remember to click "Save" at the lower right hand corner.
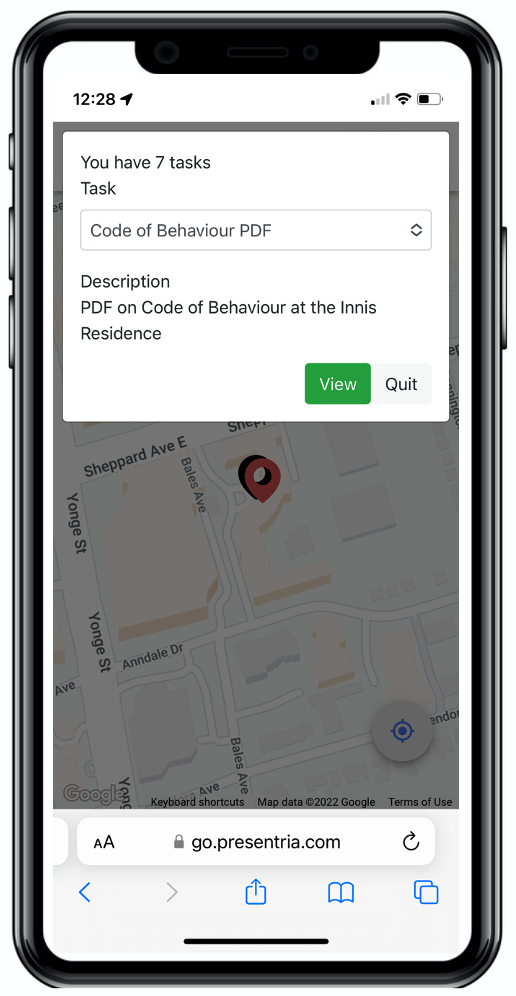
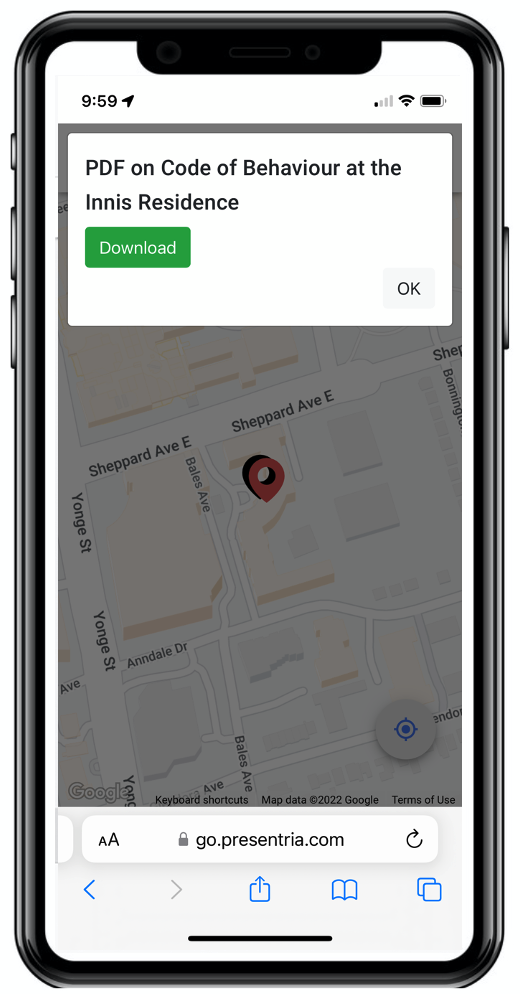
a. When students arrive at the checkpoint, they select this task and then click the "Download" button to view the PDF file on their smartphones.
Get students to take a photo at the checkpoint and upload it.
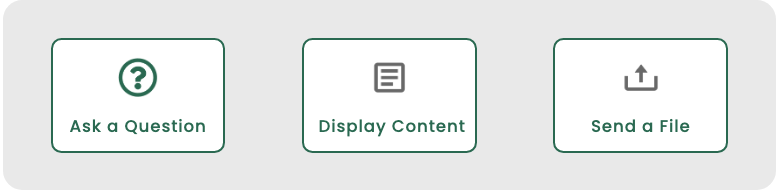
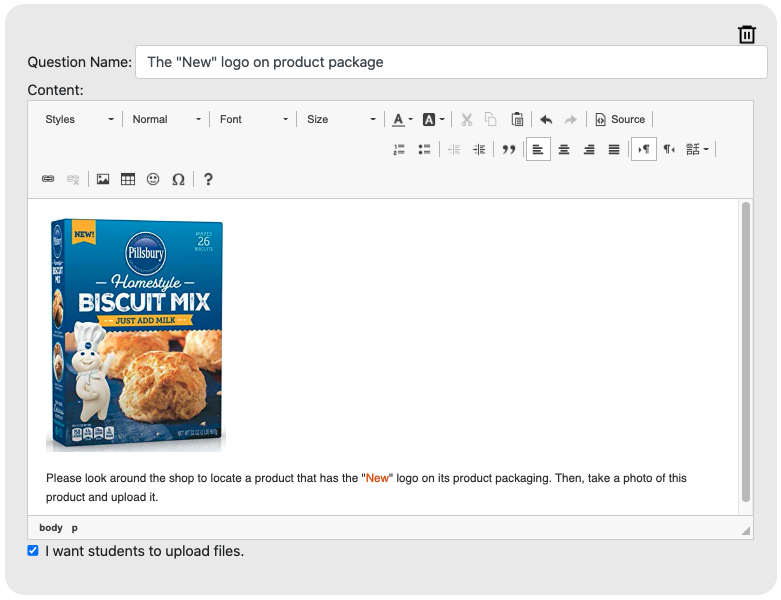
a. When setting up the question in Presentria GO, click "Display Content".
b. Type your instructions and then check the "I want students to upload files" box at the bottom of the screen.
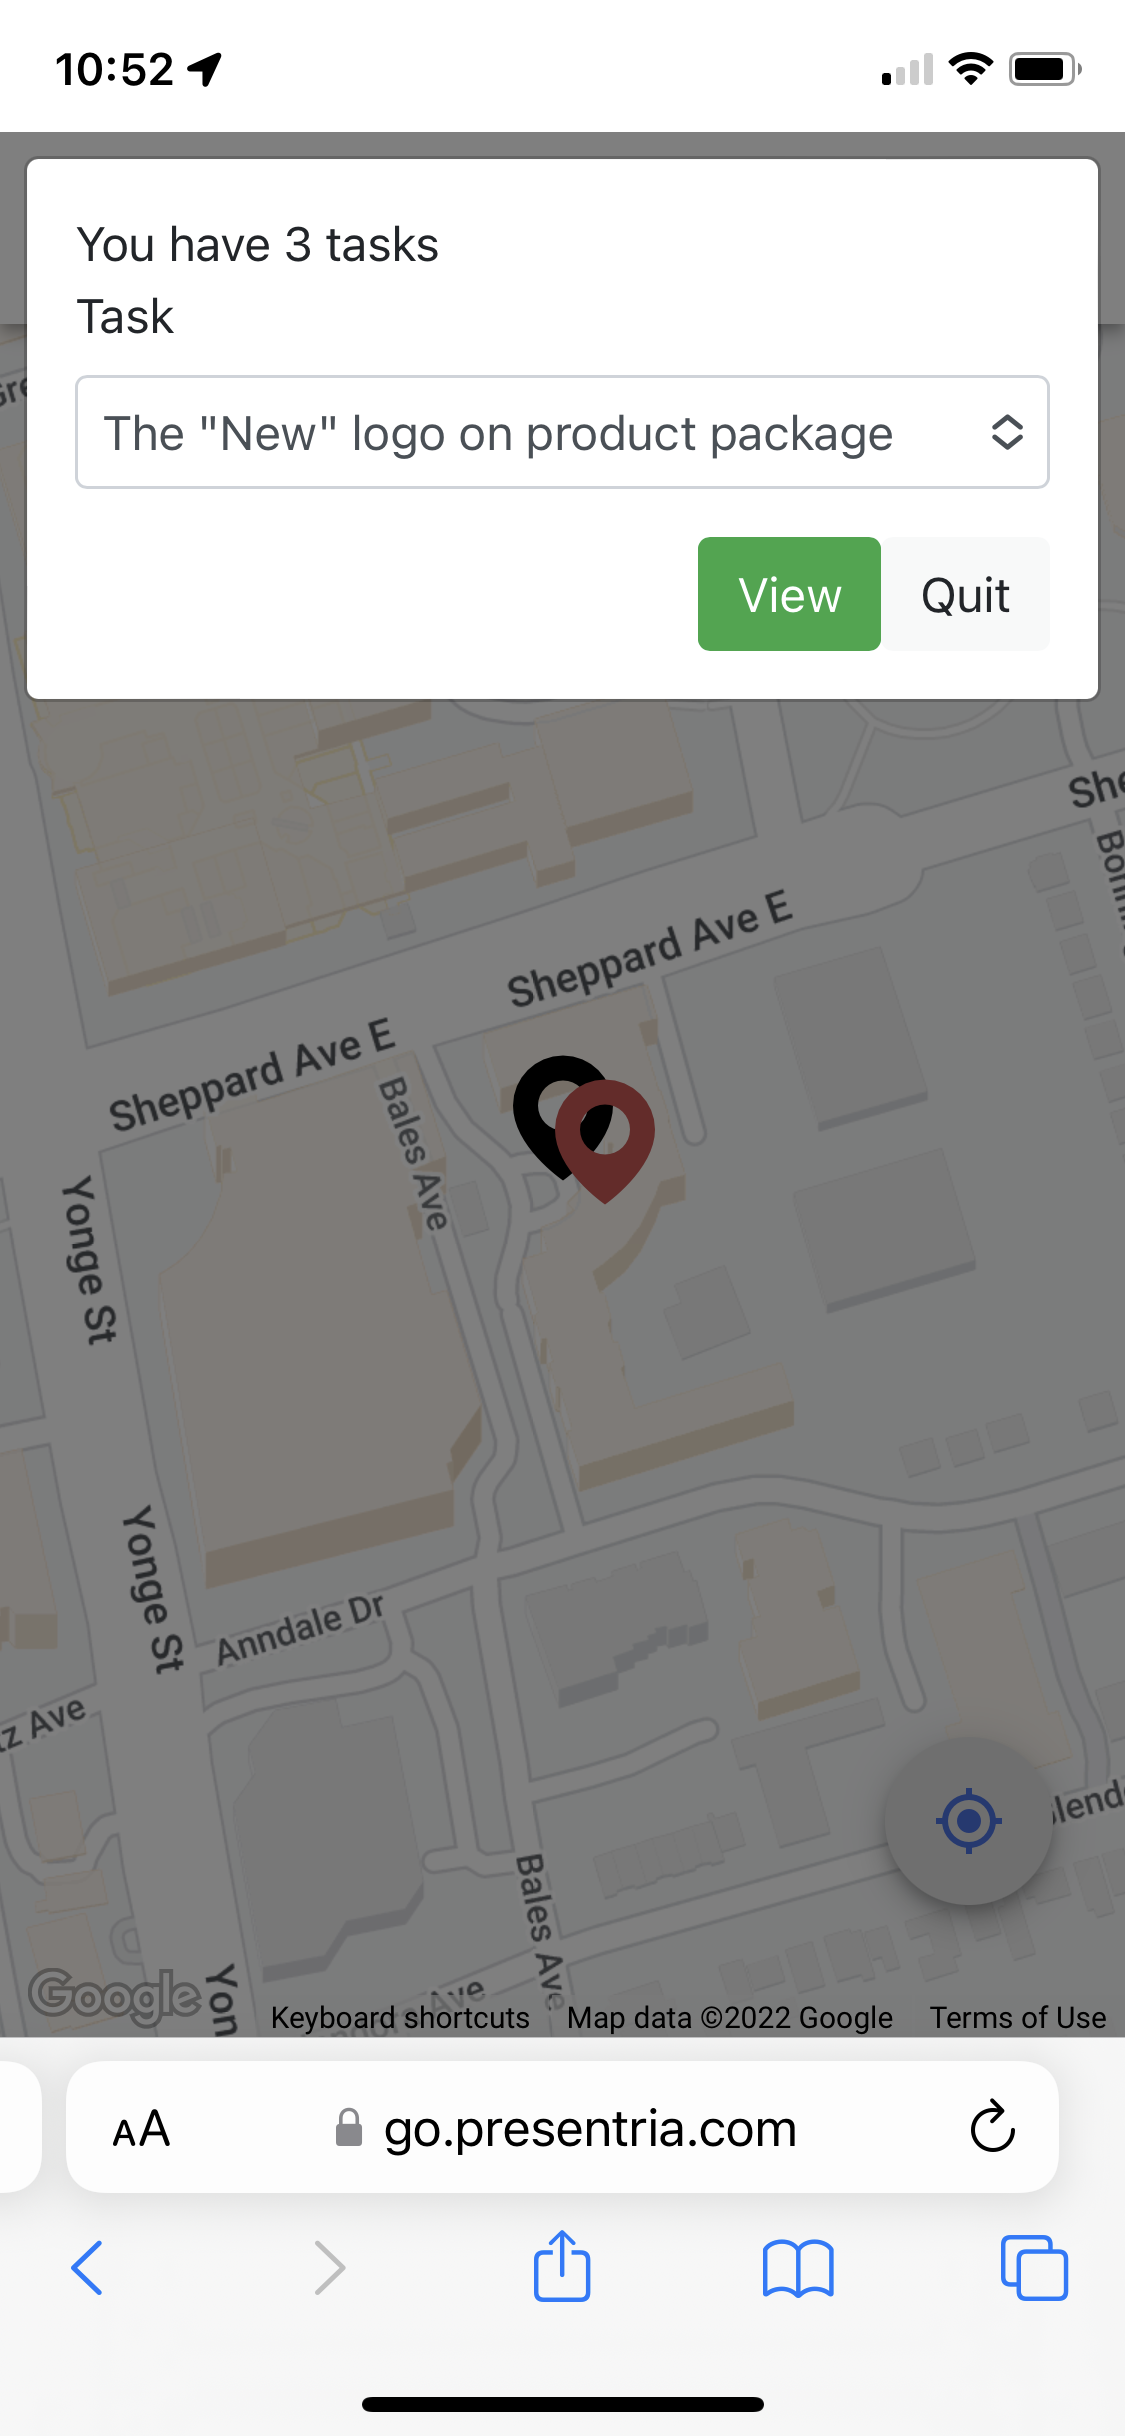
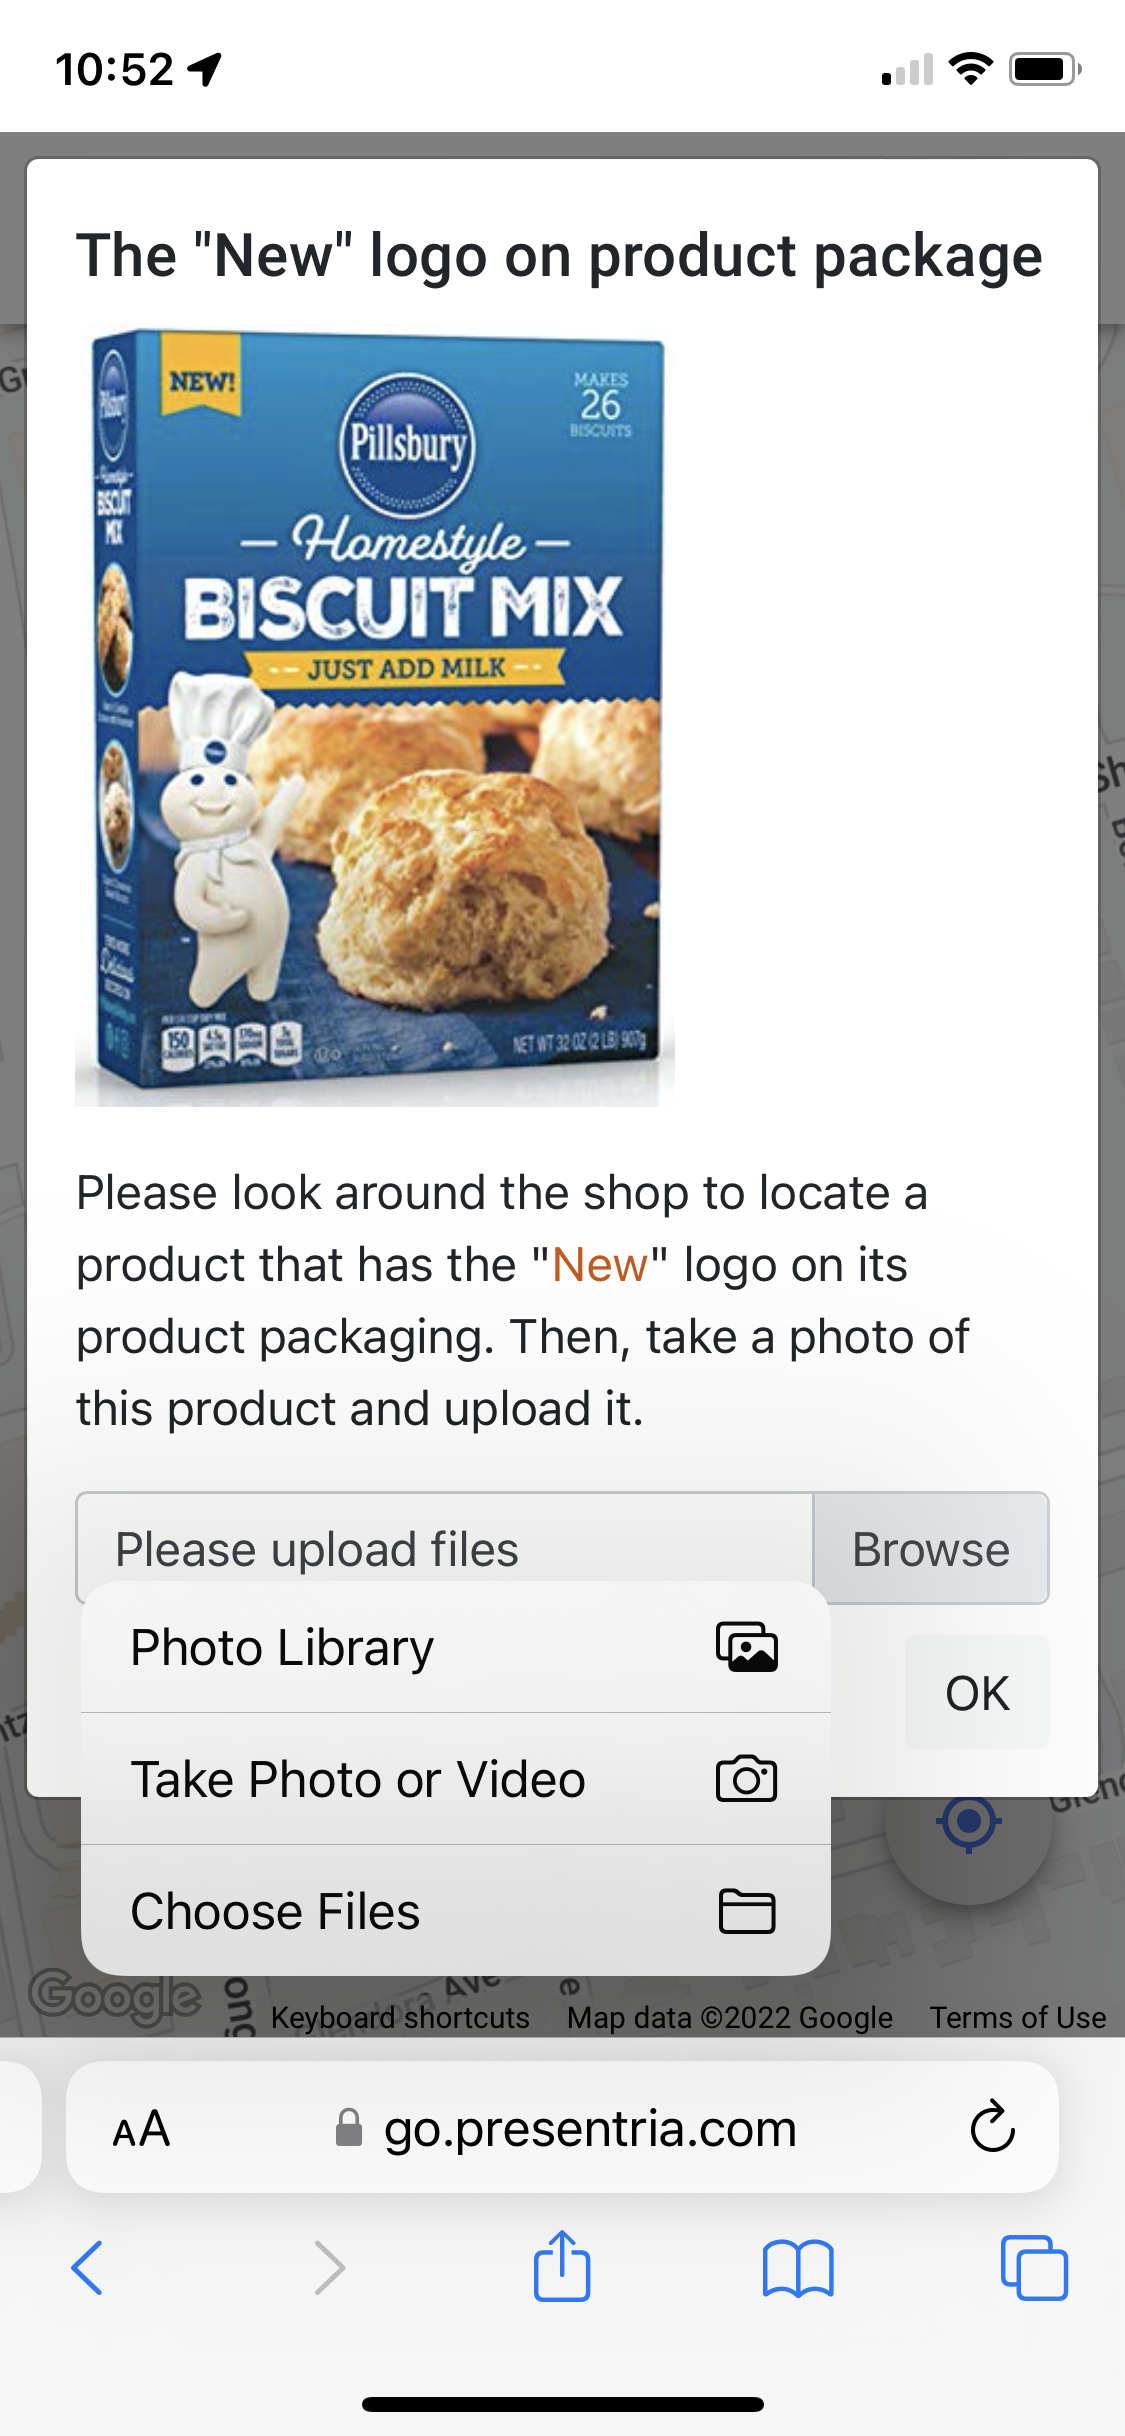
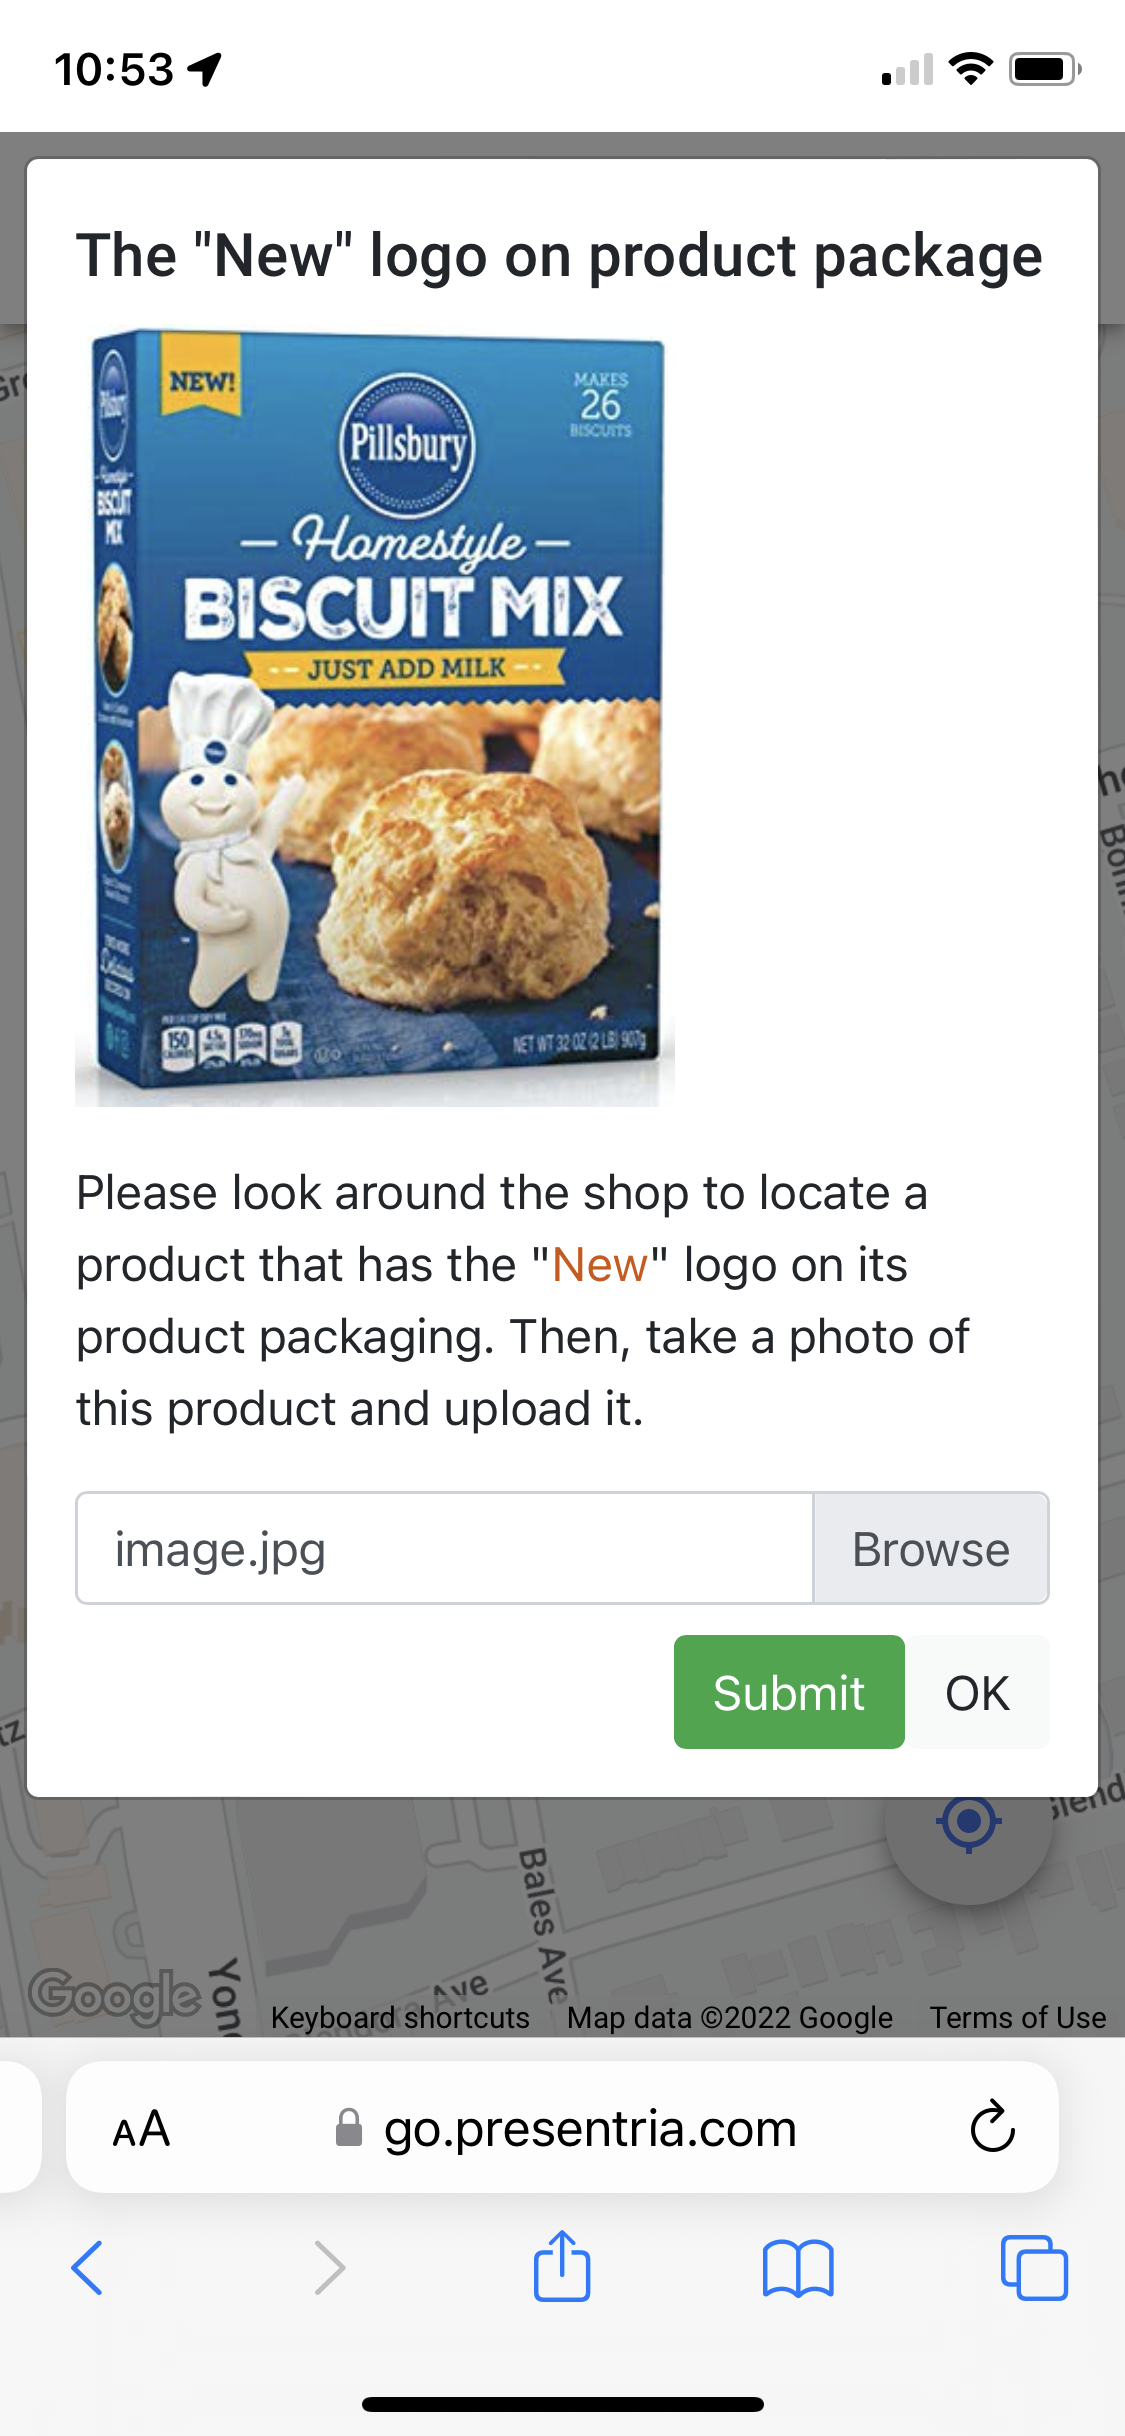
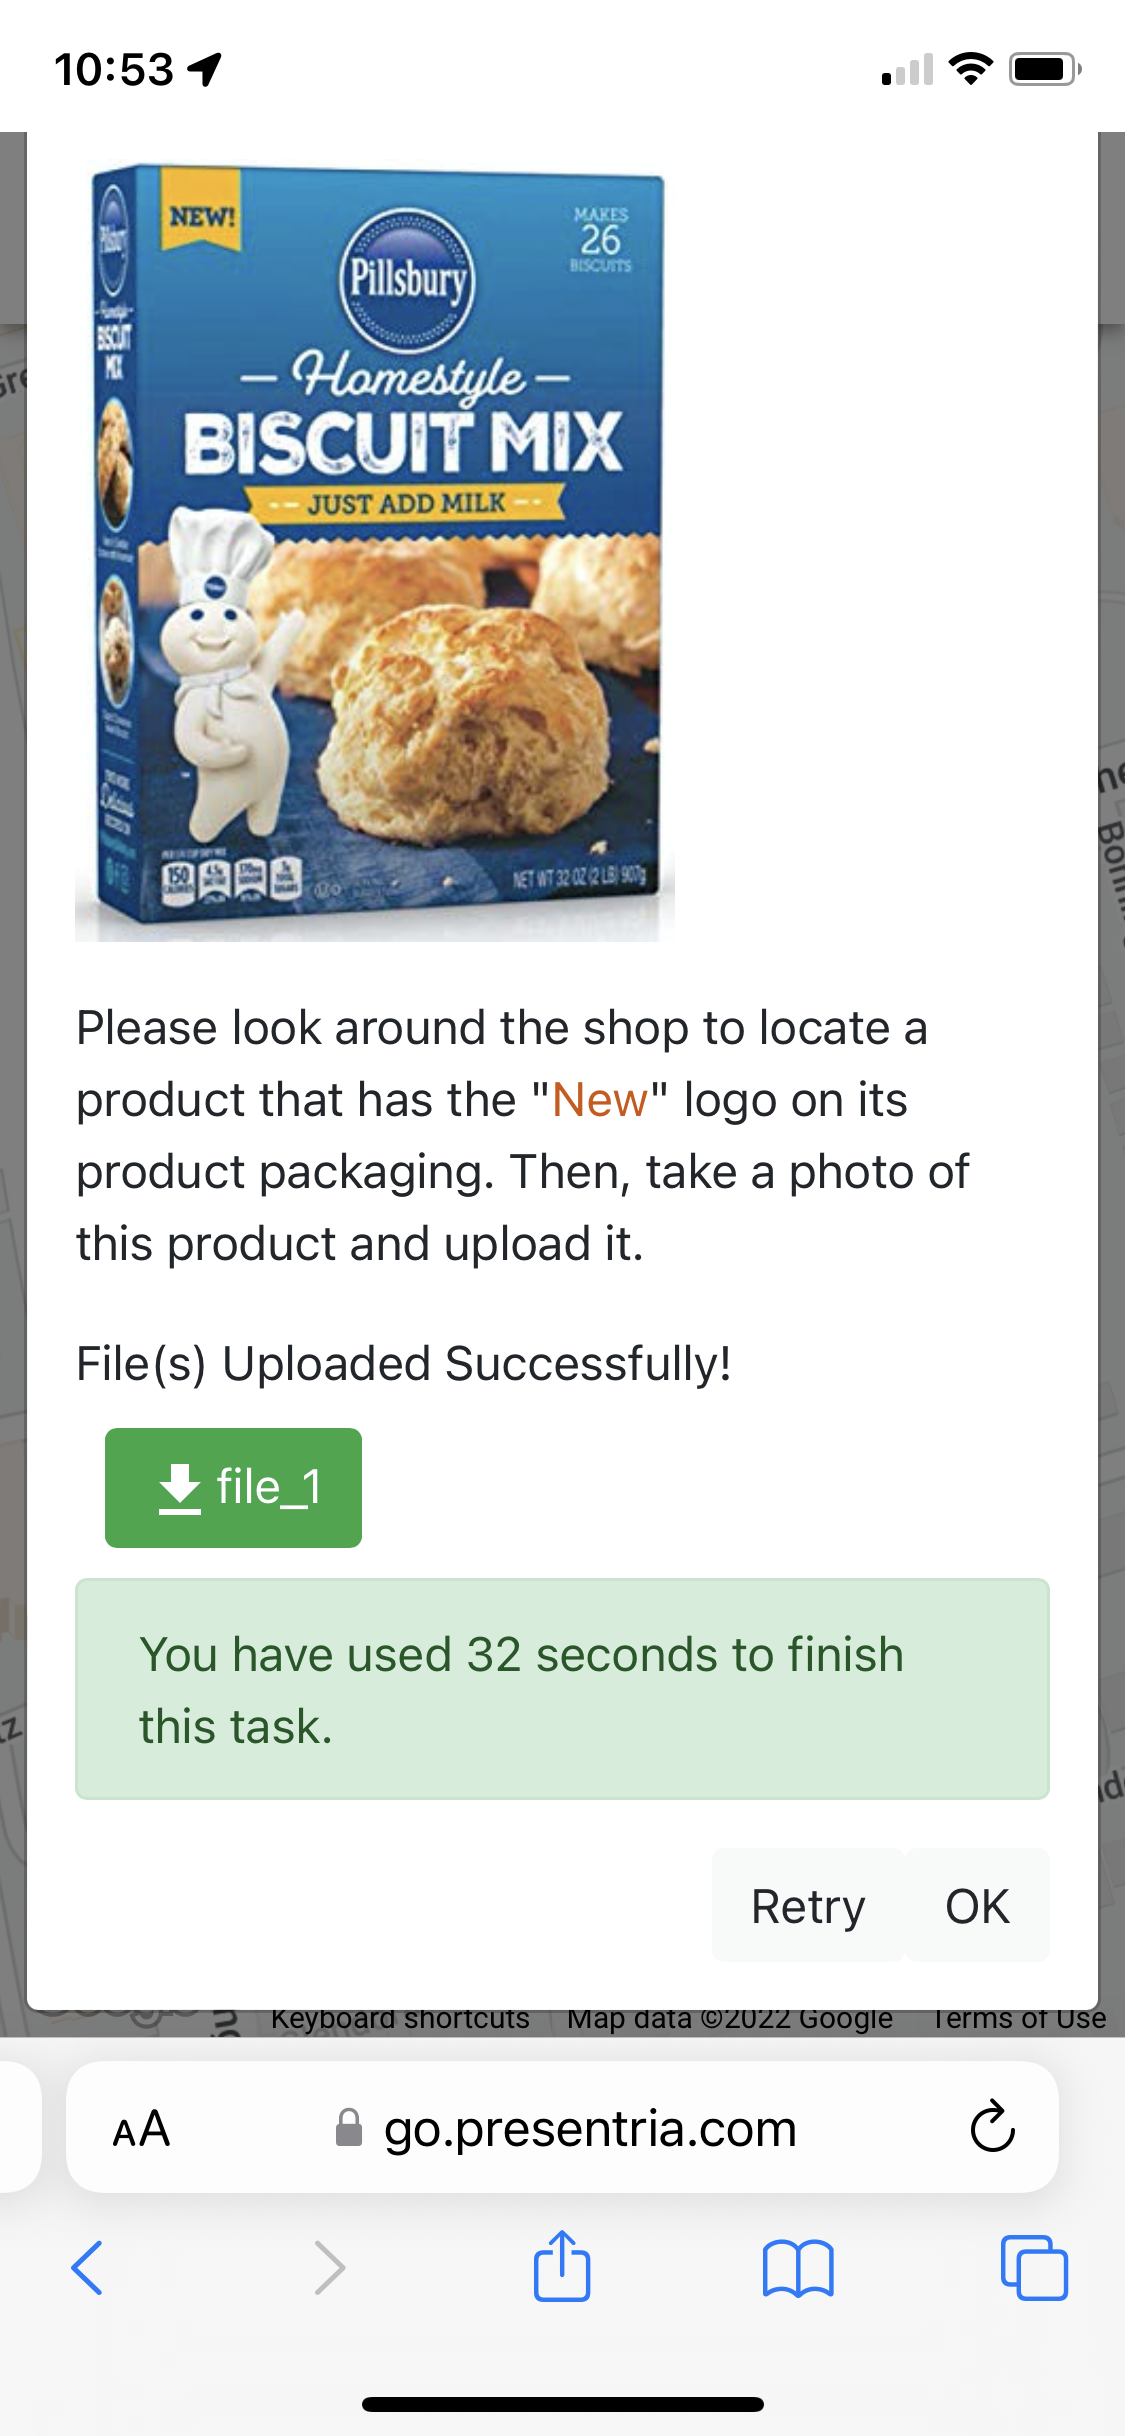
a. When students arrive at the checkpoint, they select this task, read the instructions, take a photo, and upload it to complete the submission.
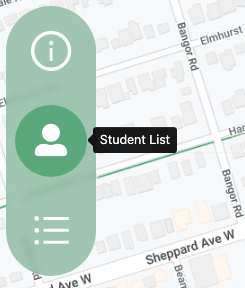
a. While the trip is still going on, the instructor can view students' photo submissions. To do this, go to your trip under the "Ongoing Trip" page, then select "Student List".
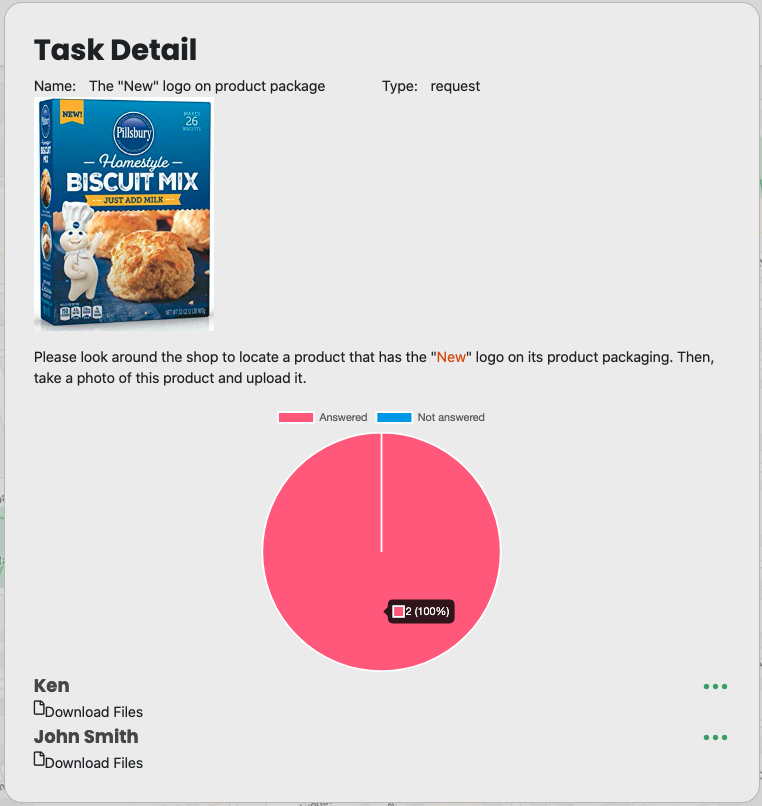
b. Click the green "..." of your question/task, and then select "Task Detail".
c. Click "Download Files" in the lower left-hand corner of the Task Detail window.
d. A zipped file called "submission_files.zip" will be downloaded to your computer. Unzip it to view your students' submissions.

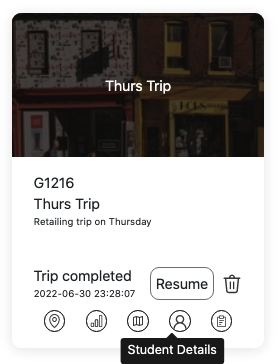
 a. Once the trip is ended, you can look up the individual photo submission. First, go to the "Reports" page to locate your completed trip.
b. Click the "Student Details" icon at the bottom.
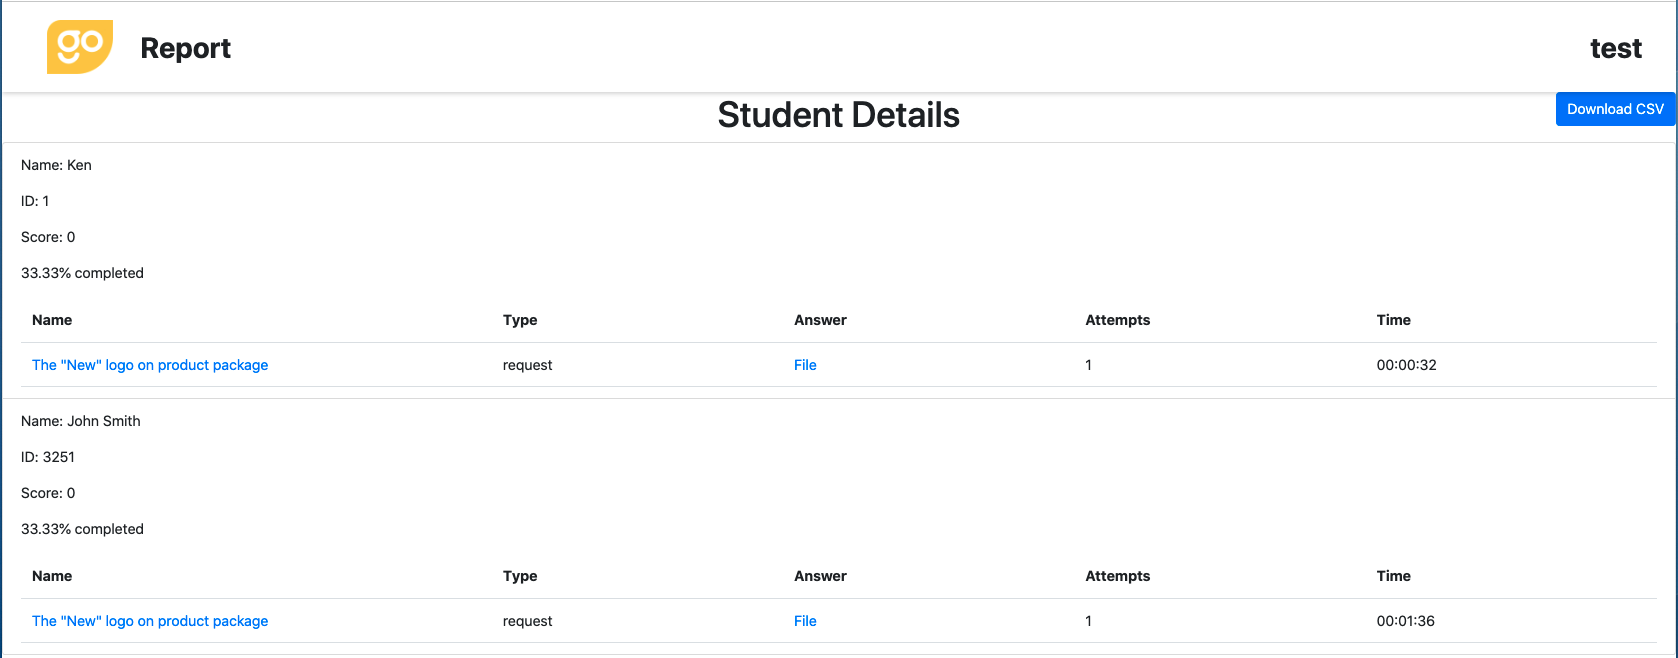
c. Go to your chosen student and click the "File" hyperlink under the "Answer" column.
d. A zipped file called "submission_files.zip" will be downloaded to your computer. Unzip it to view your students' submissions.
To ensure the question(s) get displayed at the checkpoint
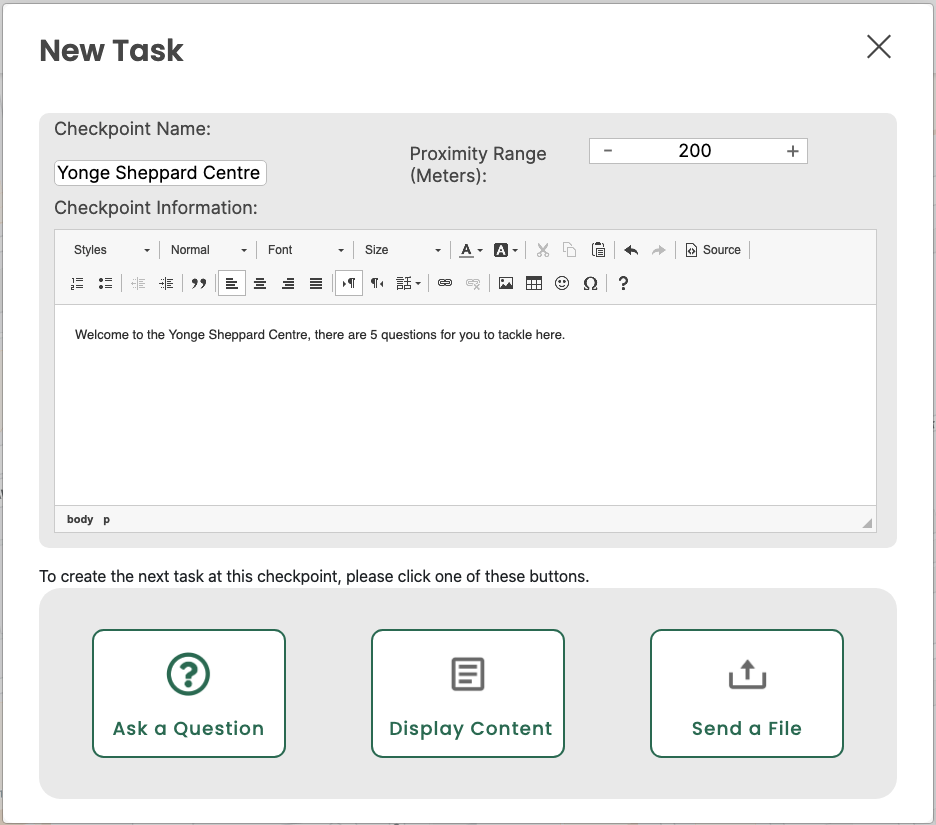
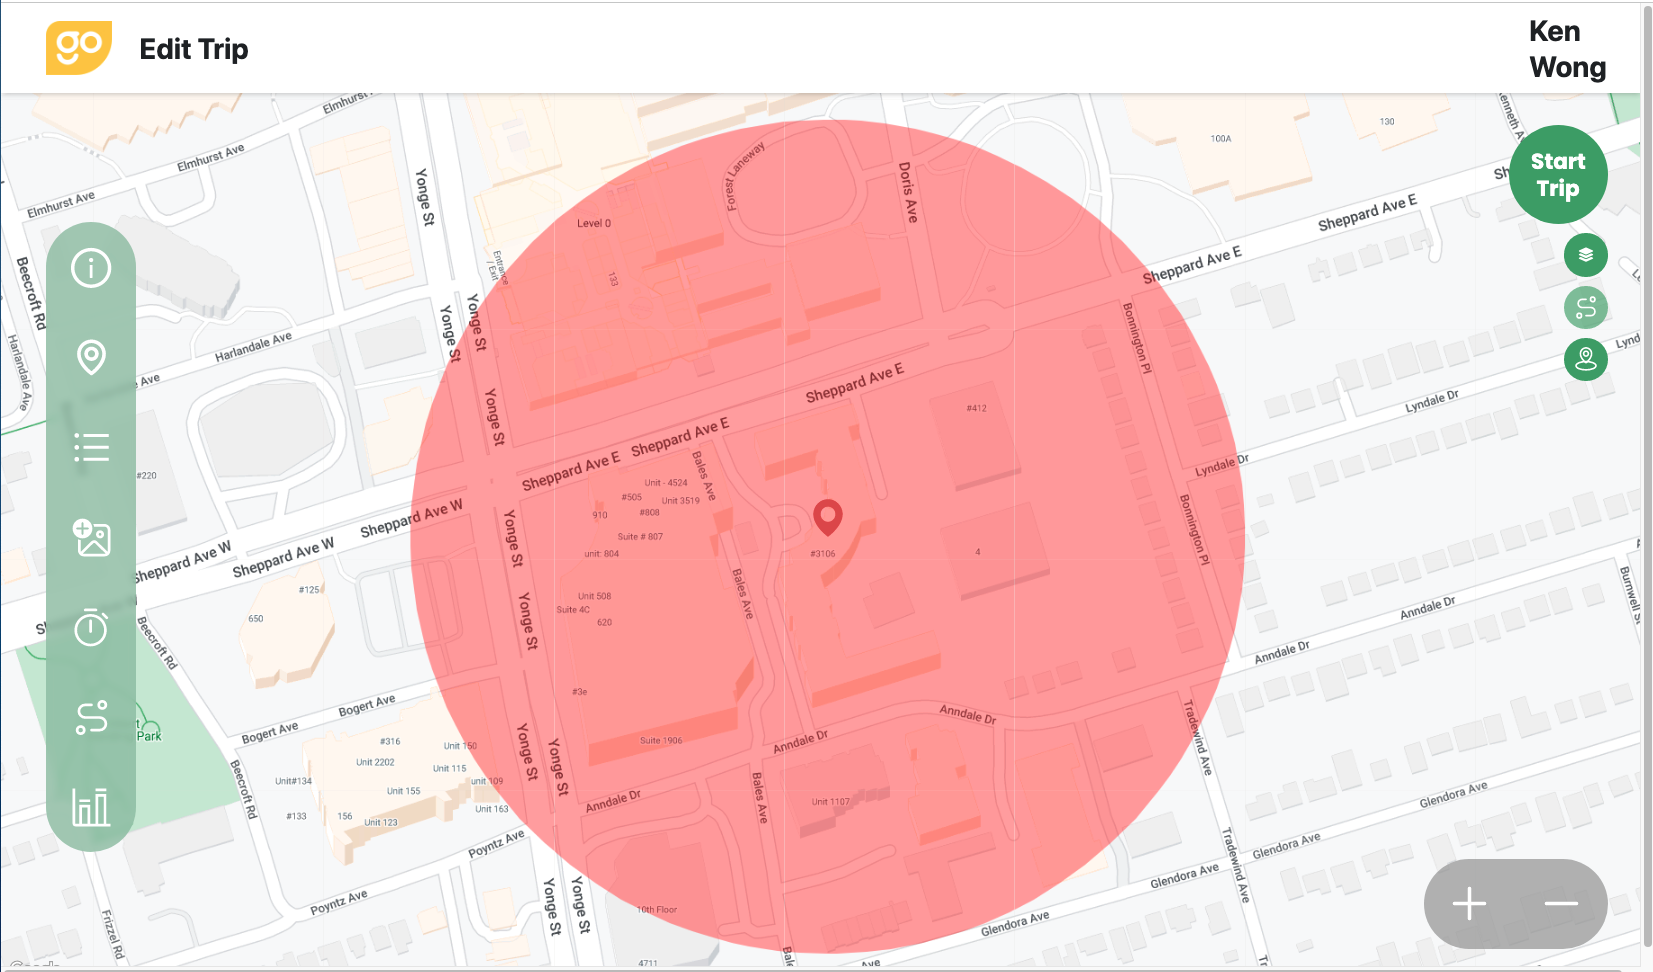
a. The default "Proximity Range" setting is 50 meters. Since the GPS reception capability varies a lot among different smartphone brands, you may consider increasing this range to a higher value (e.g., 200 meters).
b. Instead of setting up 2 separate checkpoints that are located nearby with 1 question configured at each checkpoint, you may consider setting up just 1 checkpoint with 2 questions in it.
c. Avoid setting up the checkpoint(s) in a multi-level indoor shopping mall because GPS reception is known to be weak when the smartphone is used in an indoor setting.